
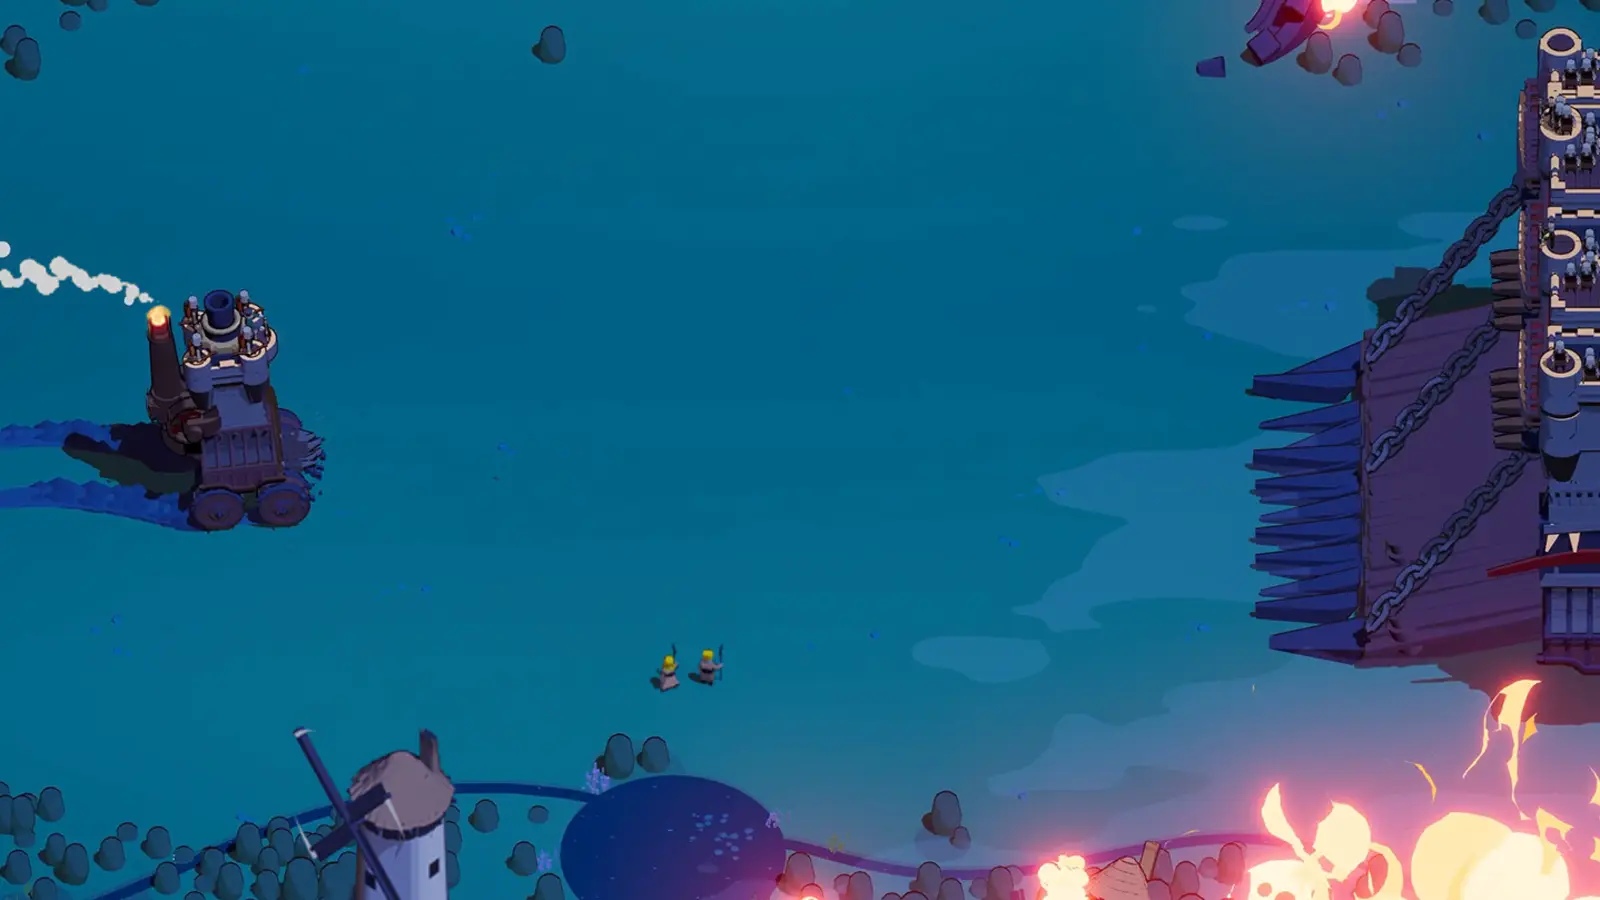
Make room for the threat your army cannot dodge for you
- Reviewed
- Scope
- Early Access; see version notes
Desert Overtime is not simply the normal boss sequence with more health bars. The recorded Empress run develops a large army and strong damage, then finds late ranged attacks much harder to survive.
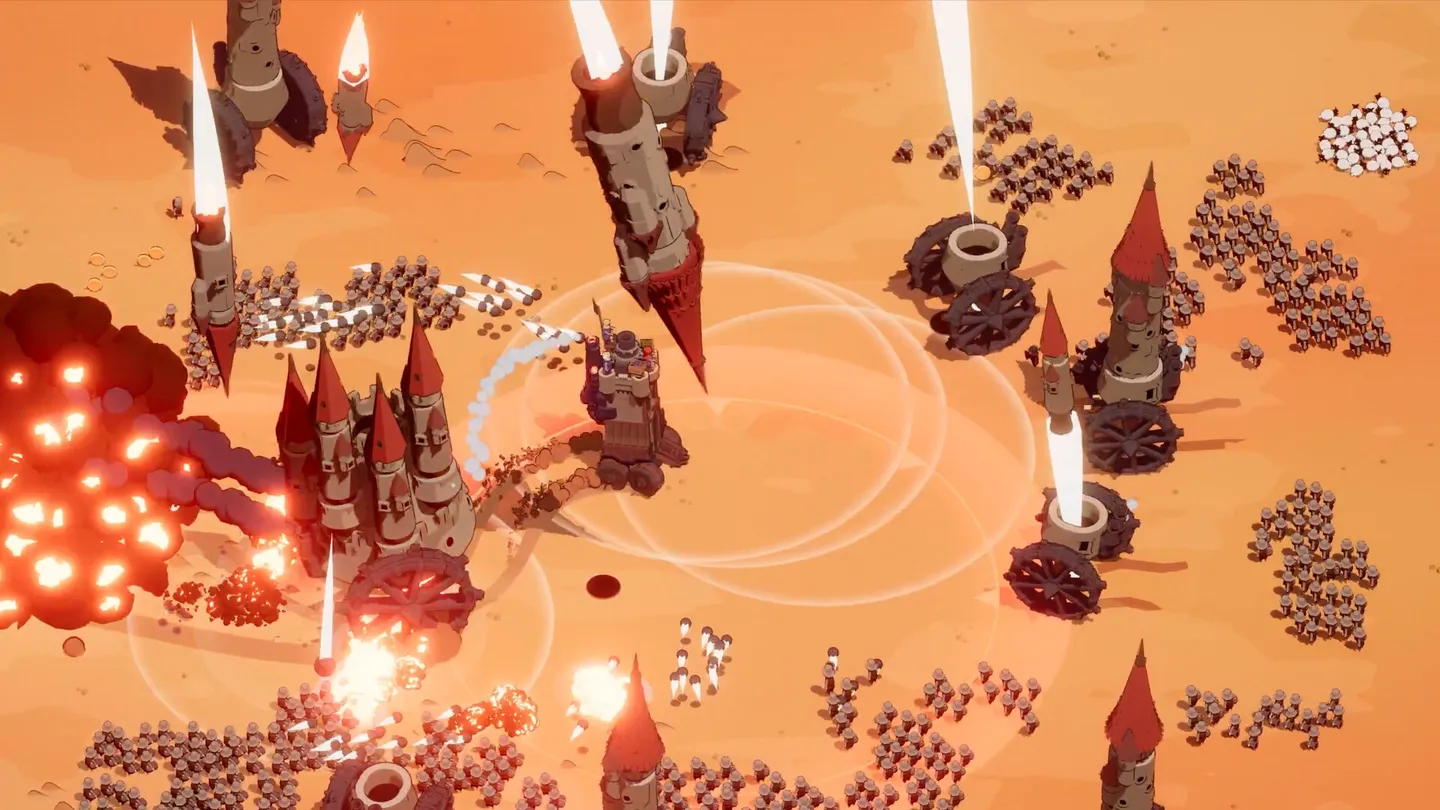
The screenshot shows a desert battlefield crowded by projectiles and units. Use it to recognize the visibility and routing problem. It is not a map of fixed enemy spawns or a safe route that can be followed every run.
Account for the mortar changes
Hotfix 0.9.8 adjusted Desert Overtime, strengthened the Overtime Mortar and made its projectiles use a faster, constant flight time. Advice based on slower earlier shots may no longer describe the same timing.
Do not attach an invented dodge window to that change. Watch the projectile pattern in your current version and leave enough space to change course.
Save movement for the dangerous pass
A common problem in the recorded run is using Nitro too casually, then needing it when incoming attacks make the current position unsafe. Avoid spending the entire meter simply because the next target is far away.
Choose a route before the crowd closes. Moving toward a tempting reward through several firing lanes can cost more health than the reward returns.
If the current build has a movement ability, keep its purpose clear. An escape that is always on cooldown after routine travel is not protecting you when it matters.
Build recovery into the decision to continue
The summon run considers Carpenters but starts Merchant. After losing in Overtime, the player suggests that ongoing healing might have extended the run. That is a reasonable next experiment, not a completed test proving a particular crew is best.
Distinguish extra maximum health, an immediate heal, ongoing recovery and a one-time survival effect. They address different stages of a failure. None makes it safe to remain inside repeated mortar pressure.
The Empress summon build explains the original setup and its limitations.
Do not mistake boss damage for survival coverage
Summons can continue attacking while you steer, but they cannot steer the castle away from a shot. A high damage output may shorten boss fights without solving projectiles from several directions.
When the boss sequence is over, ask what is now removing health. If the answer is repeated ranged hits, review movement, route choice and recovery before another unit-damage upgrade.
For the wider readiness checklist, use how to survive Overtime.
Keep the farming goal realistic
If your aim is a Silver purchase, compare a stable objective run with the extra reward from continuing. There is no verified universal desert farming rate or guaranteed survival time in the supplied evidence.
Do not turn the demonstrated player's exact route into a fixed map. The useful lesson is the decision: avoid unnecessary exposure, keep an escape available and continue only when recovery can support the losses you are actually taking.
The Silver farming guide offers a shorter progression-focused alternative when extended survival is not yet reliable.
Identify which desert Overtime you are in
The available gameplay shows two distinct desert situations. In a Golden Dunes run, the player reports Overtime while the second boss is still alive. In the Empress run, introduced as the Savannah stage in the desert sequence, the player defeats the final boss and deliberately continues. The first situation is an unfinished encounter under pressure; the second is an optional survival attempt after the normal clear.
If a boss remains alive, locate it and make the next meaningful attack reach that target. The Golden Dunes player struggles to use Front Cannon effectively, needs healing and launches mortar attacks while trying to progress. More time in that state does not automatically create a better farming setup. Your immediate objective is to finish the fight without letting surrounding enemies prevent useful attacks.
If you have already chosen the continuation, the objective changes. There is no remaining normal boss whose defeat alone resolves the current survival problem. You need a repeatable way to travel, deal damage and recover while pressure continues. The setup that delivered one decisive final burst must now function across repeated encounters.
Check the stage name when comparing advice. A Savannah summon result should not be treated as a tested result for every desert area. The practical lessons about movement reserves and ranged threats can transfer, but an exact enemy sequence, score or survival duration cannot be assumed to transfer with them.
Fix a late Golden Dunes boss before collecting more rewards
In the Golden Dunes example, the player reaches Overtime while still improving the cannon and searching for health. The transcript includes an important admission: the Front Cannon has substantial listed damage, but the player is not using it effectively. That is a useful diagnosis for a similar run. A high damage card does not establish that the boss is receiving that damage.
Set up the next pass around the weapon's direction. For a Front Cannon, put the boss ahead of the castle before firing. If your support attack lands behind or beside you, arrange the pass so that it also contributes rather than pressing every ability after the target has already moved away. Leave enough space beyond the firing position to avoid a contact trade during recharge.
A needed heal can justify a detour, especially when another hit would end the run. An optional castle with an artifact is a different decision. The footage shows attention moving between the boss, a large reward target, available Gold and health. When too many objectives compete, finish the one that is making the encounter escalate, using recovery only to keep that effort viable.
If a magnet or nearby resources can produce an upgrade safely, take the opportunity. Do not assume that one more level will make an unsafe approach safe. The immediate test is whether you can deliver the next burst and leave. If you cannot, change the route first; otherwise the improved cannon may miss in exactly the same way.
Understand why the Savannah army clears bosses
The Empress example is useful because its normal-stage damage is already strong. Front Barracks, Side Barracks and Companion create an army while the player adds spawn, attack-interval and relevant damage upgrades. The result is a setup that keeps fighting while the castle moves toward healing or another useful position.
This independence is the build's main practical advantage for a desert attempt. The player does not need to spend every moment holding the castle in a precise firing line. Use that freedom to watch incoming attacks and choose open ground. If you instead use it to drive through every reward on screen, the army's strength does not prevent the castle from losing health.
The run improves movement later, including a movement-oriented growth choice after substantial army development. That timing shows a shift in need. Once the units are handling the enemies in front of them, the castle itself becomes the part that needs help. Continuing to invest only in units would leave the player's ability to escape unchanged.
The Top slot is filled with Archer Tower, but the player often treats it as secondary. This matters when reproducing the example: the strong army is the core, and the presence of an additional attack is not proof that it carried the boss clear. Prioritize the modules doing the work, then use the remaining slot for a useful supporting role you can actually operate.
Recognize the transition from strong damage to mortar trouble
After the clear, the Empress player continues improving the army and collecting rewards. The commentary remains positive about damage, yet the run soon becomes dangerous under ranged attacks identified as mortars. That sequence shows why judging readiness only from boss kill speed gives an incomplete answer.
Separate two observations during your own continuation. First, are nearby enemies dying before they block the castle? Second, is health still disappearing from attacks arriving beyond that nearby group? If the first answer is yes and the second is also yes, additional close-range army pressure may not address the source of the problem.
Keep your view directed toward the next safe space rather than the center of the army. Mortar pressure demands that the castle leave dangerous positions even while friendly units are succeeding elsewhere. If the only route you can see passes back through a crowded fight, begin the turn earlier or move toward a less congested part of the visible battlefield.
The example does not establish a single always-safe direction or a universal circular route. Enemy positions and current movement options matter. Use the image as a reminder of how quickly projectiles and units can fill the visible area, then choose the route based on the space available in that moment.
Apply the mortar patch without inventing a dodge timer
The official 0.9.8 notes say Desert Overtime was adjusted, the Overtime Mortar was strengthened and its projectiles now have a faster, constant flight time. This gives a clear reason to be cautious with older demonstrations. It does not supply a precise projectile speed, target-lock duration or safe distance for every current encounter.
Do not infer that a constant flight time makes any one steering pattern universally correct. It describes a timing property of the projectile, not the whole interaction between the castle, other enemies and the ground you can reach. A route can avoid one attack and still lead into another firing lane or a collision.
Use visible pressure to make a practical decision: leave an exposed position while there is still room to turn, and avoid committing the whole movement reserve to a reward pickup. If a shot has already forced a bad turn, prioritize reaching open ground before resuming collection. This is a conservative routing recommendation based on the observed failure, not a measured counter to an unverified targeting system.
The same patch changes Nitro regeneration, so earlier footage can differ in both the threat and the player's movement economy. Trying to reproduce an old escape solely by tapping boost may therefore fail even with similar modules. Watch the current meter and allow recovery during safer travel instead of assuming the old rhythm will work unchanged.
Spend Nitro on the turn that matters
The Empress run includes repeated moments where the player wants to avoid cannon fire but has no Nitro left. Later, the player acknowledges spending boost casually. This is a more specific problem than simply needing higher movement speed: the available escape resource was consumed before the threatening moment arrived.
Use ordinary movement when you are crossing clear ground and do not need an immediate burst of distance. Keep enough reserve to leave a projectile lane or complete a turn before enemies close it. If you boost for collection, check what route remains once the meter is low. A quick trip to a reward is not efficient if the return requires another boost you no longer have.
Avoid deciding on the pickup and then improvising the exit after reaching it. Plan both as one pass. A healing object beyond a crowded group may look urgent, but the castle still has to survive the route out. If another accessible recovery source lies along open ground, its smaller reward may be more useful than the larger one inside the pressure.
If your loadout includes a movement ability, assign it a clear role alongside Nitro. You can use it to preserve the meter or escape during a recharge, but do not assume the Empress example includes every movement tool shown in a different run. Work with the equipment actually obtained in the current attempt.
Distinguish a reserve of health from a way to recover it
The Savannah recording repeatedly collects healing, considers defensive effects and carries Phoenix Feather at one point. Near the end, the player expects that Feather to remain available and then realizes it has already been used. This shows how a run can feel better protected than it actually is.
Before continuing after the final boss, check the protection you still have. A selected artifact and an unused artifact are not necessarily the same thing. If a one-time effect has already saved the run, plan the continuation with that reduced margin. Do not make a risky collection pass on the assumption that a second rescue will occur.
For ongoing recovery, consider how quickly the effect can return health compared with the hits you are taking. A healing crew may help a run that survives each individual mistake and needs to recover between them. It cannot demonstrate that benefit if repeated mortar hits arrive faster than the castle can leave the dangerous area. Movement and recovery need to work together.
Merchant is the crew used in the recorded Empress attempt; Carpenters is considered at the beginning and suggested as an alternative after the loss. Trying that alternative is reasonable if your boss damage is already reliable. Calling it a proven desert record setup would go beyond what the example establishes.
Choose late upgrades for the next encounter
Once the army is strong, compare offensive cards with what the castle needs to survive the next pass. More units may help if enemies are still reaching and surrounding you. Attack interval can matter if units are engaged but cannot finish targets. Those improvements are less directly connected to a mortar hit arriving while the nearby group is already dying.
Movement, defense and recovery should therefore compete for attention before the crisis. The player takes movement improvements during the later boss sequence and reports that the castle feels better to drive. That provides a practical reason to make those decisions while the run is still stable, rather than waiting until the continuation exposes the weakness.
Do not confuse a change of priority with abandoning the build. Keeping the army strong enough to create space remains important. The change is that another damage upgrade must now justify its value against a survival choice. If the build already handles the normal targets comfortably, the castle's exposure may be the more urgent bottleneck.
Use the result of one pass to guide the next choice. If the army fails to clear the route, develop damage or deployment coverage. If the route clears but the castle still takes ranged hits, revise steering and protection. If each pass is survivable yet health never recovers, look for sustain that can operate along the route you are actually driving.
Decide what a successful desert attempt means
A normal desert clear, an objective completion and a long Overtime record are different outcomes. The Empress example completes a strong normal run and additional consumption progress even though the continuation ends. That result can still support account progression without establishing an endless farming method.
Before departure, choose the outcome that matters for the attempt. If you need a particular permanent purchase, track the reward you need and use a stage you can reach consistently. If you want to improve desert survival, focus on arriving at the continuation with a usable movement reserve and a clearer recovery plan than the last time.
After the loss, identify the transition that ended control. In the Savannah example, the key change is late ranged pressure against a strong army. Rebuilding the entire offensive core would miss that diagnosis. Preserve the successful boss plan, then improve how the castle handles exposure, Nitro use and healing once mortars become the main threat.