
Keep the last fight under control
- Reviewed
- Scope
- Early Access; see version notes
Dark Tower appears as a late boss in the recorded progression. The gameplay names it and describes fire attacks; other clips call a tower by nicknames rather than identifying it. Those unnamed enemies should not be merged into a made-up attack list.
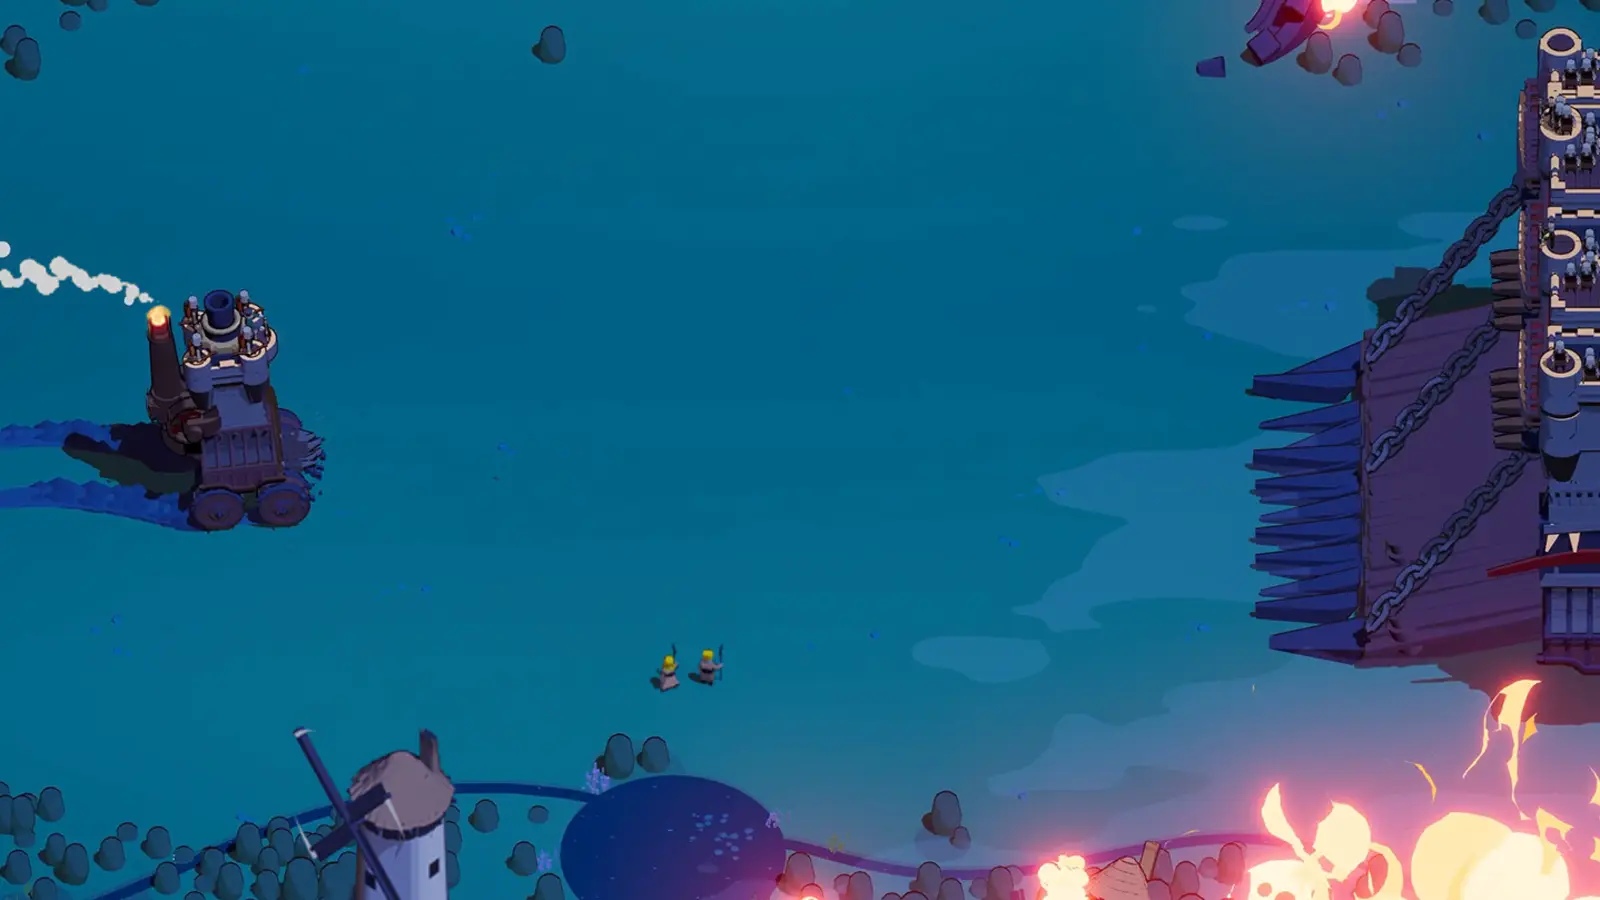
The combat image below illustrates the need for open movement space. It is not presented as a labeled Dark Tower portrait or proof of its exact attack geometry.
Apply the correct difficulty change
Hotfix 0.9.6 reduced Dark Tower health on Difficulty 1 from 12,000 to 10,000. That is a historical patch change for that difficulty, not a universal health value for every Dark Tower encounter.
For Meadows, use the separate difficulty 2 guide. Do not import a Difficulty 1 stat into that fight.
Use the last preparation window deliberately
Before the final encounter, identify the attack that has been reliably removing durable enemies. Keep that part of the build ready rather than spending its active ability on an optional target immediately before the boss. Supporting attacks can continue clearing smaller pressure while you reposition for the encounter that matters.
Check health and the route to any recovery you can already see. The recorded Meadows run is still searching for healing late in the sequence. Reaching the last boss with powerful damage does not erase the need to survive its approach. A recovery pickup on an open route may be worth collecting before engaging, while a more valuable reward behind a dense group can remain a distraction.
Avoid a late change in driving habits merely because a new upgrade looks strong. The identified Dark Tower segment includes a Front Cannon active upgrade followed by a missed shot. Continue positioning the attack deliberately; the upgrade changes its output, not whether the boss occupies its firing line. Your established main attack can keep contributing while you set up the next cannon pass.
The best build comparison covers the different operating habits of these damage plans.
Keep summoned units on useful targets
A separate late-tower summon recording shows friendly troops occupied by smaller enemies around the intended target. Because that enemy is not reliably named, it is a general targeting example rather than proof of a Dark Tower-specific mechanic. It is still a useful situation to recognize if your own army fills the screen while the boss health barely moves.
Watch what the units attack during the deployment. If nearby enemies absorb the whole wave, clear the immediate pressure and try a better approach. Do not assume that adding more units will always change their target. If the boss is taking damage, keep the castle mobile and allow the army to work instead of entering the same crowded space unnecessarily.
Avoid relying on a command or targeting behavior that your current module does not provide. The practical recommendation is to improve the engagement position and remove obstruction when necessary. It is not a claim that every summon can be directly ordered to focus Dark Tower or that one fixed distance forces the correct target.
Separate outgoing fire from incoming danger
The named encounter establishes fire attacks, but a tornado described in other, unnamed tower footage cannot safely be assigned to this boss.
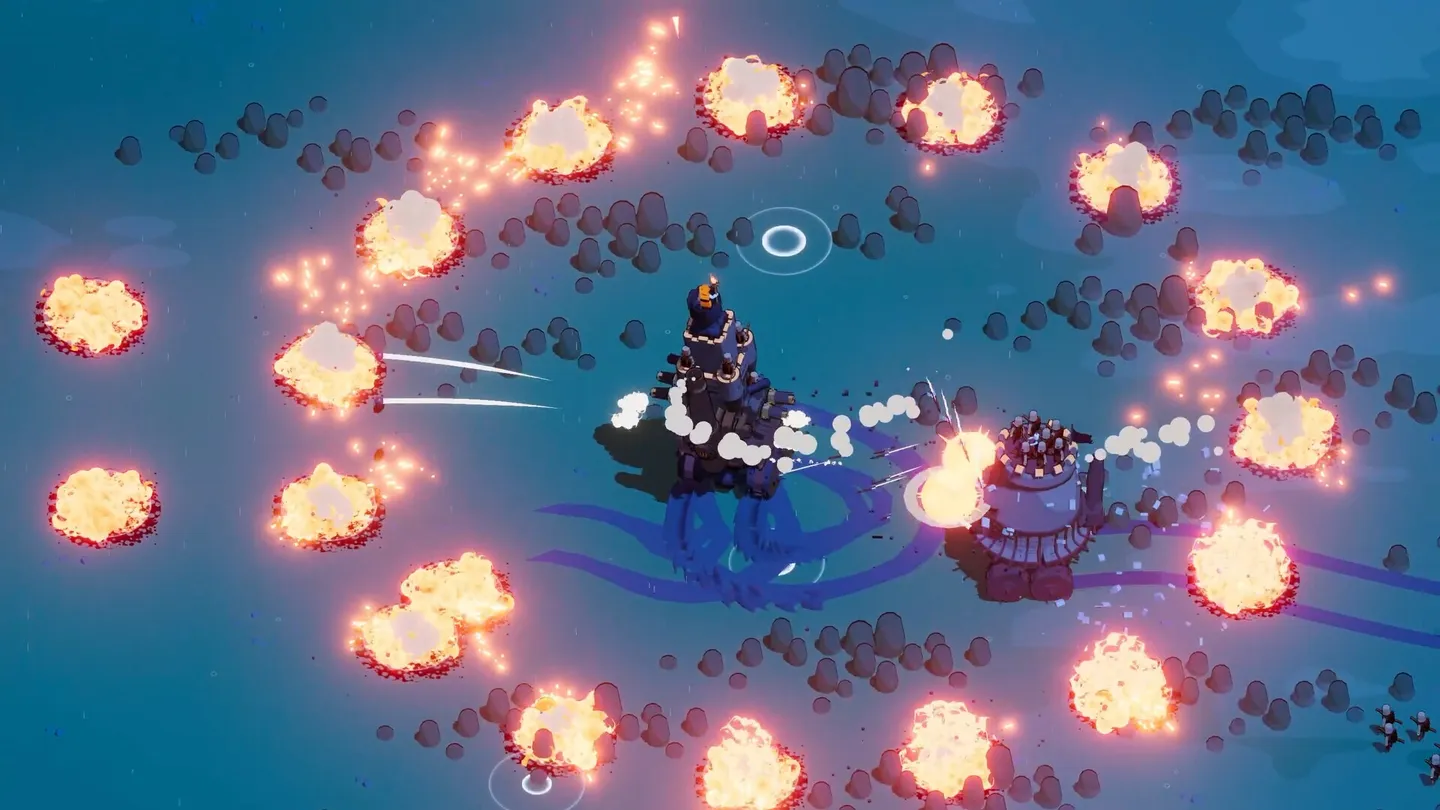
The identified Meadows clear uses a developed Fire Mage setup while Dark Tower also has fire attacks. That visual overlap can make the encounter harder to read. Track where health is being lost and which ground remains open instead of treating all fire on screen as your own harmless effect.
A successful fire-based clear proves that the setup could finish that recorded fight. It does not prove that the castle gains resistance from equipping Fire Mage, that the boss has no fire resistance, or that close contact is safe. Keep using the attack where it contributes while respecting the incoming threats you can see.
When effects obscure the next turn, moving to clearer ground can be more useful than immediately repeating the strongest ability. You still need to know where the castle is going after the attack. Avoid backing into an unidentified ground effect simply to keep the boss centered on screen; losing visibility is a reason to simplify the route.
Finish the kill before changing the objective
The last part of a boss health bar can tempt a player to start collecting rewards early. In the named encounter, the player takes Silver near the end and then completes the kill. Treat that as a choice made in that run, not an instruction to stop investing in survival whenever Dark Tower appears.
If the boss is almost defeated and your current attacks can finish it, keep the next pass focused on that result. If your castle is also close to defeat, an accessible heal may still be the most valuable action. The important distinction is between a detour that enables the kill and a detour that exposes the castle for an optional reward.
After the boss falls, read the actual completion choice and decide whether to continue. A successful normal clear and an extended Overtime attempt have different requirements. The recordings do not establish a Dark Tower reward table or a complete set of post-clear unlock conditions, so use the result and progression screens for the specific outcome of your run.
If you continue, use the Overtime survival guide to shift from boss damage toward sustained recovery and escape. A clean boss kill and a long Overtime attempt test different parts of the loadout.
A cannon clear offers an alternative to the fire example
The launch-day commentary explicitly names Dark Tower, discusses firing the side attack while circling, and then reaches the completion and Overtime choice. That provides another supported way to approach the encounter: keep a broadside opportunity while continuing to move. It does not establish exact projectile shapes or a fixed safe orbit, because the available transcript is not a visual attack breakdown.
Try the same principle only when your equipped Side Cannons can reach the target from the chosen line. If a turn exposes the castle to incoming fire, widen or abandon that pass instead of maintaining the circle at any cost. A missed broadside and a weak broadside call for different corrections.
The Patchy cannon build explains cannon positioning, but the named tower commentary should not be reclassified as a verified Patchy test. The captain used in one clip cannot be supplied from an unrelated cannon recommendation. Choose the attack route that fits your actual loadout, then make the Overtime decision after the clear.