
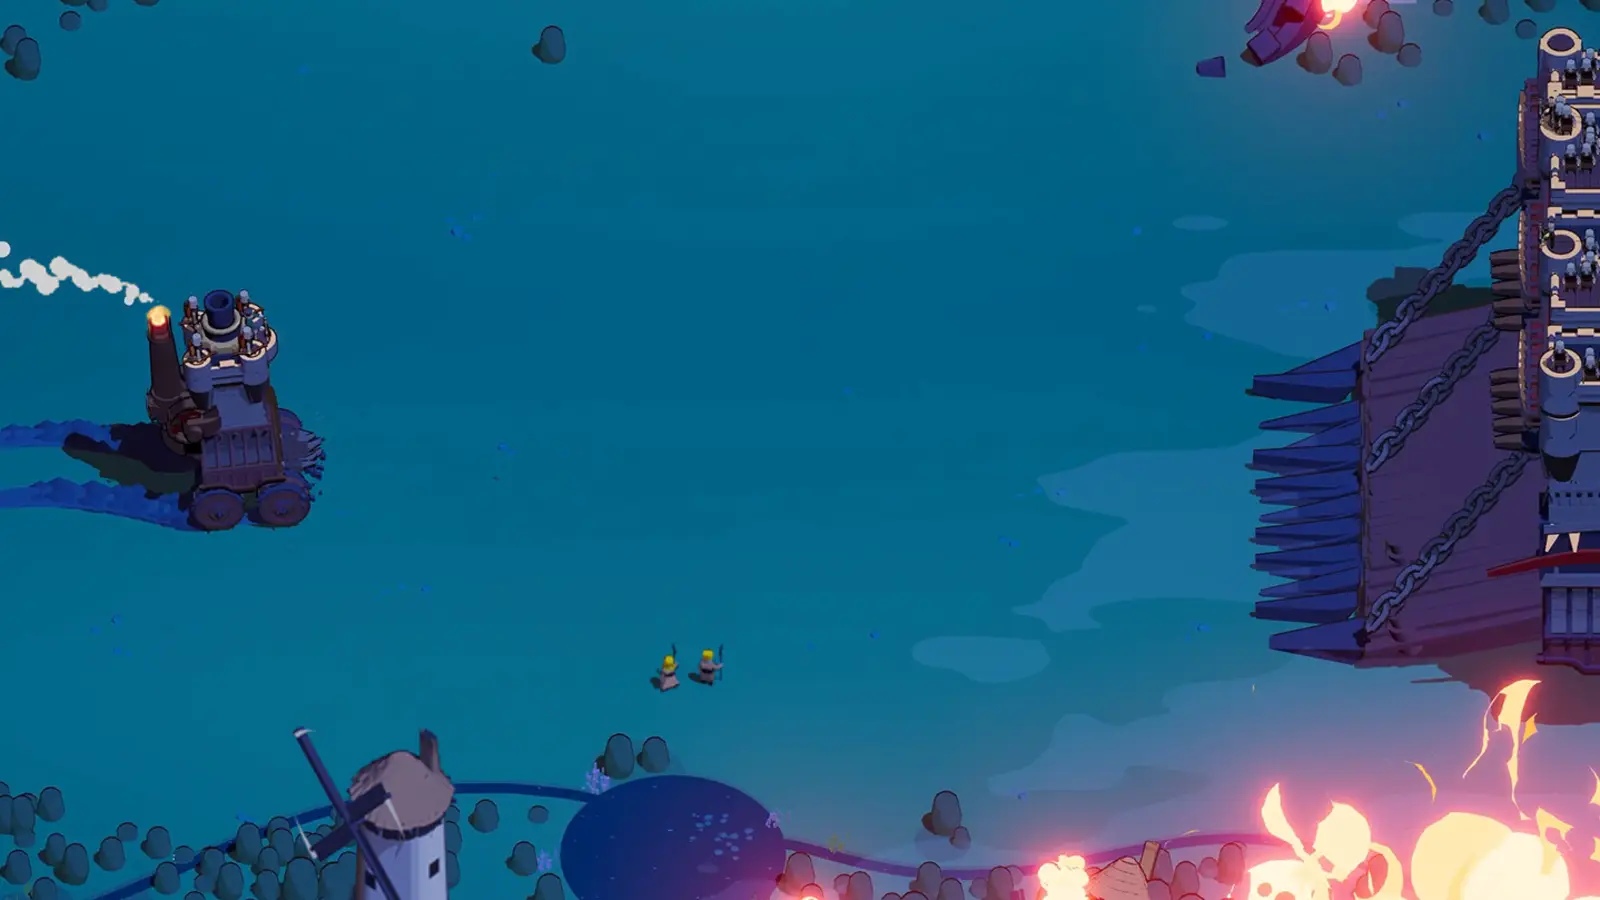
Separate input problems from castle handling
- Reviewed
- Scope
- Early Access; see version notes
Wanderburg supports controller play, and hotfix 0.9.8 added an alternative controller driving style. Start by checking that the game receives input, then test how the selected style moves your castle. A controller that is not detected, an unfamiliar steering response, and a missed weapon activation need different fixes.
There is no verified universal button chart in the available gameplay material. Spoken references to Y, B, and A belong to one player's sequence and do not establish every default binding or every controller layout. Use the prompts and control settings in your installed game for exact buttons. This guide provides a practical way to verify those actions and diagnose what goes wrong.
Establish a simple working baseline
Connect the controller using the method you normally use for PC games, then launch Wanderburg and test menu navigation. Confirm that you can move the selection, accept a choice, and return from a menu. Do this before judging how the castle drives.
If you normally use a custom controller layout, keep a record of it before changing anything. A screenshot or a short note gives you a known configuration to return to. Do not change several mappings at once and then try to reconstruct the original arrangement after the problem becomes harder to understand.
Keep the initial test simple. Use one intended controller and avoid simultaneously pressing keyboard, mouse, and controller inputs while you are trying to identify what the game recognizes. This is a diagnostic recommendation, not a claim that multiple devices are unsupported.
When the menu responds consistently, enter a familiar, low-risk run with equipment you already understand. The aim is to test steering and abilities without adding an unfamiliar vehicle or weapon as another variable. If menus do not respond at all, stay with the input-detection checks before spending time on combat settings.
Distinguish input detection from driving behavior
A complete lack of response is different from movement that feels awkward. If neither menu navigation nor gameplay receives input, the first questions concern the connection, the active device, and any layout already being applied. A different driving style cannot fix a device the game is not receiving.
If menus work and the castle moves, the controller is contributing input. Now compare what happens with what you expect. Does the castle turn but keep drifting along a different route? Does the problem happen only when the vehicle is large or surrounded? Does an ability activate while movement remains normal?
Use the following observations to choose the next check:
| Observation | Next useful check |
|---|---|
| No controller action works in any menu | Recheck the device connection and active configuration. |
| Menus work, but movement feels unfamiliar | Compare the available driving styles with the same vehicle. |
| Steering works, but one ability seems absent | Inspect its prompt, equipped module, and cooldown. |
| An attack activates but misses the target | Test its direction and range in open space. |
| The application exits | Follow the crash checks rather than changing steering settings. |
| The castle turns poorly only in crowded areas | Check available space and vehicle handling. |
A precise symptom saves time because it limits which setting could plausibly change the result.
Compare the alternative driving style fairly
The official 0.9.8 notes confirm the addition of an alternative controller driving style. They do not supply a universal recommendation that every player should switch, or a complete device-independent button map. Inspect the available control options in your installed client.
Before changing the style, observe the current one in a safe area. Try a short directional correction, a broad turn, and a straight movement followed by another turn. If the current controls offer reversing, include a small reverse correction using the displayed action. Keep the test focused on what the interface actually supports.
Then try the alternative with the same chassis and starting equipment. Repeat the same kinds of movement. Do not compare one style on an early small vehicle with another after several growth upgrades; the vehicle itself has changed, so the result would mix control preference with handling differences.
Choose the style that makes the intended route easier to execute consistently. Comfort matters more than copying a video. Record the choice and leave it unchanged while practicing, so a missed turn gives you useful feedback rather than prompting a new configuration after every mistake.
Verify steering before testing combat combinations
Begin with one action at a time. Move through open space and release the input to observe the response. Try a gentle change in direction, then a more deliberate turn. Notice where the castle ends up rather than looking only at its facing direction.
The distinction matters because a mobile castle occupies space and can become obstructed. If the vehicle is already touching other units, the result may not reveal what the control style does in an unobstructed situation. Repeat the movement where you have room before treating it as an input fault.
Next, add Nitro using the action indicated by your current prompt. Observe whether you can maintain the intended route during the boost and whether the resource is available when you try it. A depleted or recharging resource is a different issue from an unmapped button.
Finally, confirm pause and menu access. Knowing how to stop and inspect the setup is useful before entering a demanding fight. If an action behaves differently from the prompt, record which controller, layout, and control style were active. That is more informative than saying all controller support is broken.
Test each module's active ability independently
Wanderburg modules can contribute automatic attacks and separate active abilities. Seeing a weapon fire does not necessarily mean you pressed its active input successfully. Conversely, an active ability being on cooldown can make repeated button presses appear to do nothing.
Select familiar starting equipment and inspect the prompts shown for the equipped actions. Activate one ability in a clear situation, then observe which module reacts and whether its cooldown changes. Repeat for another equipped ability only after you understand the first response.
If the attack activates but deals little visible damage, check the target's position. A side-facing attack and a forward attack require different approaches. No controller remapping will make a broadside hit a target outside its useful angle. The beginner attack and positioning guide explains how to separate aiming from upgrade choices.
If the expected action does not activate, inspect whether the module is actually selected, whether the ability is ready, and whether the visible prompt matches your active layout. Do not assume the same face button always controls the same module across different configurations.
Read button labels from your own device and layout
The available recording includes a player saying a short Y, B, A sequence while activating abilities. That establishes what the player said during that moment. It does not prove the entire default control scheme, identify the exact controller, or show how custom mappings were configured.
Use your game's prompts together with the physical controller and any layout you have applied. A label on one device can differ from the label or position used on another. If the two disagree, inspect the configuration before trying to memorize a chart copied from unrelated hardware.
Keep a small action-based note if necessary: steering, Nitro, first equipped ability, second equipped ability, pause, confirm, and back. Fill it from observed behavior in your own setup. The purpose is to remember verified actions, not to create an unsupported universal mapping.
When sharing a problem, describe the action as well as the button. “The second equipped ability does not activate when ready” tells another player more than “B is broken.” The same button name can refer to different actions under different layouts, while the in-game ability identifies what you were trying to do.
Change custom mappings one action at a time
If you use a custom layout, first identify the exact action you want to improve. A difficult reach during combat may justify moving one ability; uncertainty about the whole steering model calls for a driving-style comparison instead. These are different changes.
Record the original mapping, adjust the selected action, and repeat the same test in a low-risk run. Confirm both the intended action and any action that previously occupied the same input. A change that makes one ability comfortable but causes accidental confirmation or another unwanted action has not yet produced a clean result.
Avoid copying a complete community layout solely because its title promises the best controls. Its author may use a different controller, different equipment, or a different style of play. Check the actual assigned actions and test them with your own configuration.
If the change does not help, restore the previous mapping before trying another. Keeping a working baseline makes comparisons possible. There is no verified ideal deadzone, sensitivity, or custom layout value in the available material, so this guide does not invent numerical settings to fill that gap.
Recheck handling when the castle grows
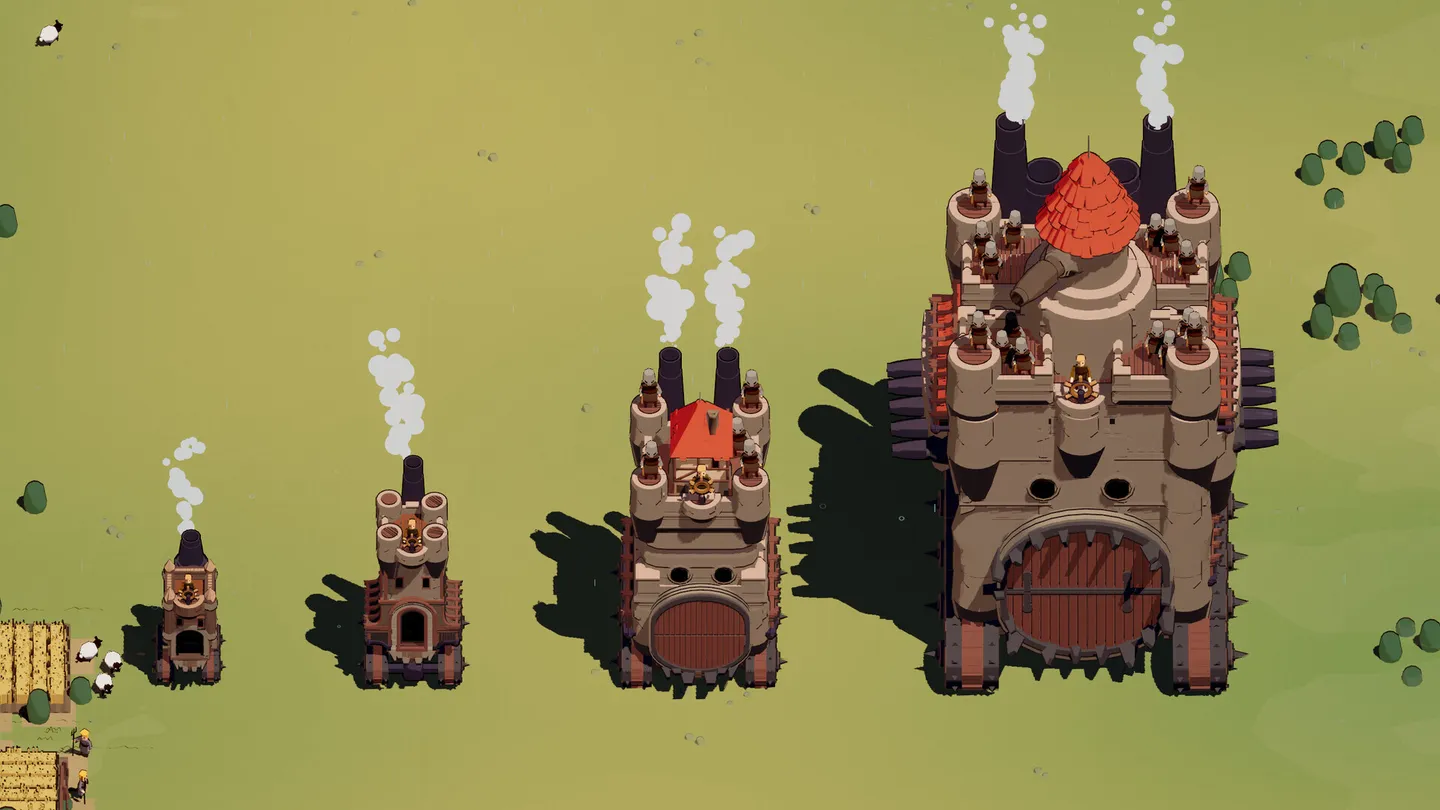
The growth image above is relevant to controller testing because the same run can change the size of the vehicle substantially. A clean early turn does not guarantee that the same gap remains usable after a boss upgrade.
When the castle grows, give it more space while you learn the new behavior. Repeat a broad turn in an open area and pay attention to traffic near the edges of the vehicle. If you are getting stuck only after growth, examine the route before changing the controller configuration.
A blocked castle can look unresponsive even while it is receiving steering input. Look for enemy vehicles, structures, or a narrow exit. Continuing to press the same direction may not create an opening. Reposition earlier on the next approach instead of waiting until the castle is surrounded.
Vehicle differences also matter. Spiderburg's turning and its forward movement are separate qualities, while Tankenburg is described in recorded play as slower to turn and accelerate. The loadout and chassis guide helps keep equipment selection and handling expectations aligned.
Use Nitro deliberately during the control test
Test Nitro after ordinary steering feels understandable. Begin in open space so the result shows how boosting interacts with your chosen route. Then practice using it for a specific purpose, such as leaving a dangerous approach, instead of treating constant speed as the goal.
Watch the resource state and the timing shown by the game. Hotfix 0.9.8 changed Nitro regeneration so it starts after a short delay following boost use. Repeatedly pressing the action while expecting immediate recovery can therefore feel different from older footage without indicating a controller fault.
During combat, decide where you want to go before activating boost. Speed toward a blocked path can produce a collision faster rather than an escape. Preserve enough space after the maneuver to turn or continue moving.
Do not attempt to learn boost, multiple active abilities, and a new driving style simultaneously during a boss fight. Add one action to the test at a time, then combine them once each works predictably. This is a practice method, not an extra game requirement.
Separate a controller symptom from a technical failure
If the application closes, freezes entirely, or fails to launch, treat that as a stability problem first. Remapping an ability is not a targeted response to a process that has exited.
If the image remains animated and keyboard or mouse menus still respond while the controller does not, record that distinction. It helps identify an input-specific issue without claiming to know the cause. If no input responds and the screen is frozen, note the exact menu or gameplay action that preceded it.
The Wanderburg crash and freeze guide covers official launch choices, installation verification, and known selection-screen fixes. Those checks should be applied to matching symptoms. A warning requiring another owned Top module on Spiderburg, for example, is an equipment condition rather than a controller freeze.
When repeating a problem, keep the vehicle and equipment selection consistent. If it happens only after choosing one chassis or opening a particular menu, that sequence is more useful than a general statement that the pad sometimes stops working.
Treat hardware and platform claims separately
PC controller support does not establish every feature on every device. It should not be turned into a claim about a particular Steam Deck frame rate, a Linux configuration, gyro behavior, or a console version without separate evidence.
A player saying the game would suit a handheld describes an opinion or expectation. It is not a measured performance report. Likewise, one successful controller session does not prove every wireless adapter, third-party pad, or custom layout behaves identically.
For your own setup, verify the actions that matter before committing to a long run: menus, steering, Nitro, active abilities, pause, and recovery from a mistaken selection. That practical check is more useful than relying on a broad compatibility label to answer a specific input problem.
If a device-specific feature is essential to you, confirm it in the actual configuration where you intend to play. This guide deliberately leaves untested hardware behavior unresolved rather than assigning a universal supported or unsupported label from incomplete evidence.
Record a useful controller report
A useful report includes the controller model, connection type, game version, selected driving style, and whether a custom layout is active. Add the vehicle and equipped module if the problem concerns movement or an ability. Those details define the situation without requiring a long narrative.
Describe what you pressed, what you expected, and what happened. Note whether menus work, whether other inputs still respond, and whether the issue occurs with a fresh run or only after a particular selection. If the behavior changes after a configuration adjustment, identify that single change.
Keep the report focused on a reproducible example. A short sequence such as selecting a vehicle, starting a run, and activating a ready ability is more actionable than a collection of unrelated failed experiments. Preserve a working configuration when one exists.
Once the controls work consistently, leave the setup stable long enough to learn the combat rhythm. The next improvement may come from positioning or upgrade choices rather than another mapping change. A reliable controller setup is one that lets you predict the castle's response and use its attacks intentionally across the whole run.