
Test a reported target against your objective counter
- Reviewed
- Coverage
- Player-reported clues; target confirmation required
This guide covers objective wording and a counter-check procedure. It does not provide a verified Harvester portrait or spawn route; confirm the reported target against your own objective progress before repeating a hunt.
Check the reported Harvester clue before a farming run
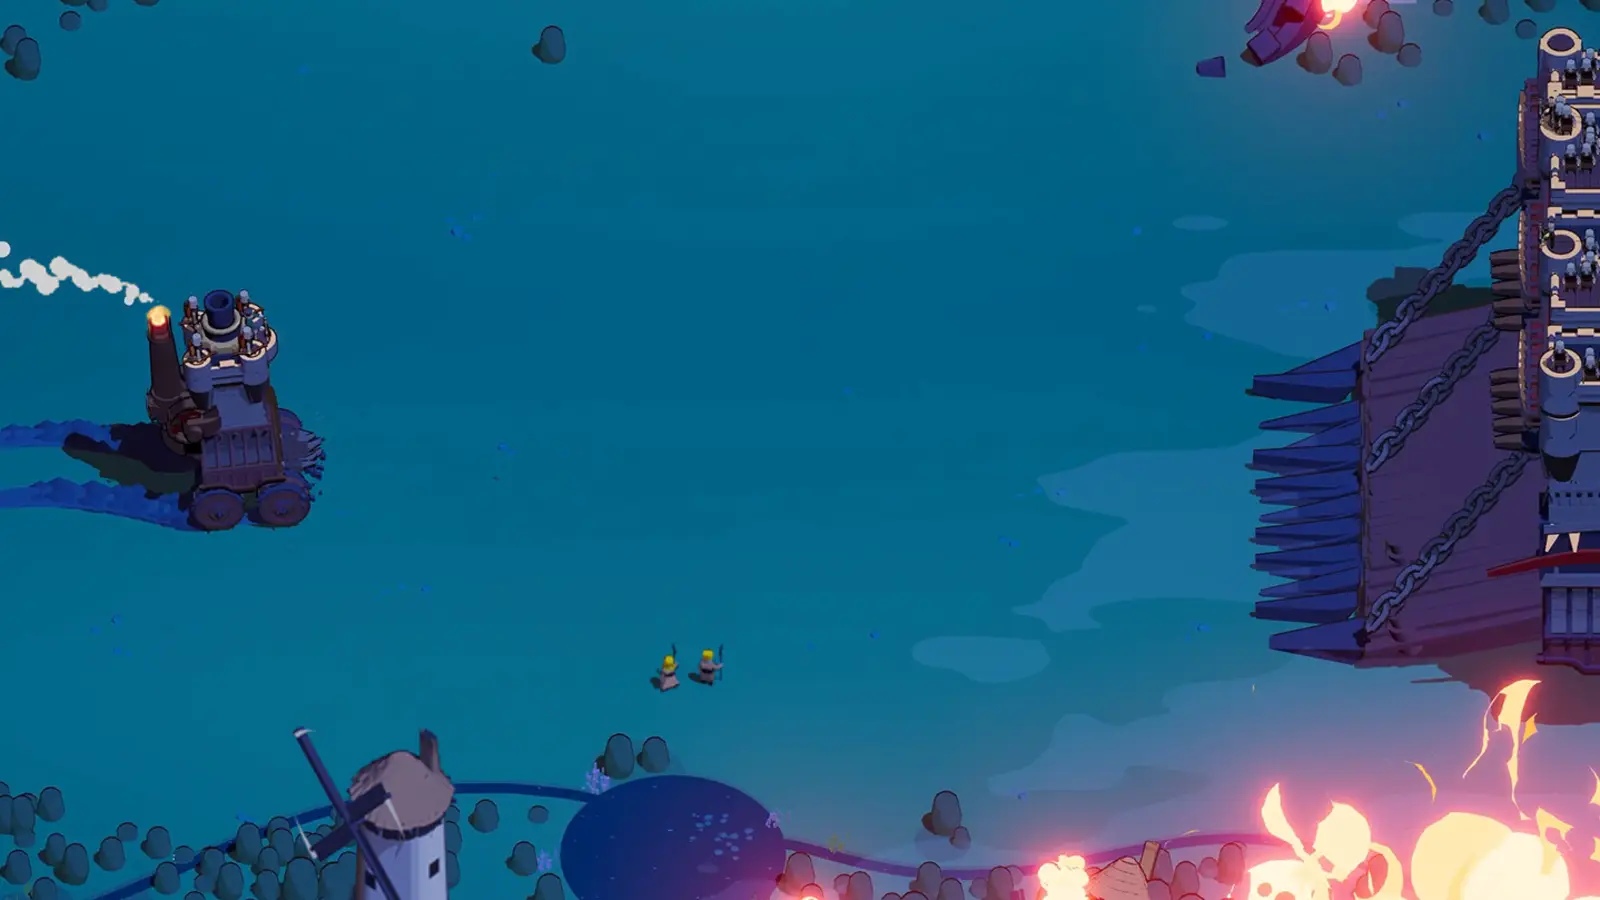
For the Wanderburg Harvester objective, the strongest available identification clue is a large, slow tank with a long spiked roller across its front. Players describe seeing this vehicle in the first grassland stage. Treat that as a target to check, not proof that every large tracked vehicle counts. One player specifically reported destroying more treasure carriers without moving a Harvester counter that was already at three of five.
The objective described in the Early Access gameplay is to kill five Harvesters overall. That wording matters: it describes a cumulative target, unlike a challenge explicitly limited to one run. The same recording initially talks about doing it in a single run, then corrects that interpretation after rereading the objective. Read your own challenge before planning around a memory of what a streamer said.
There is still no verified spawn timetable or labeled enemy portrait in this guide. The practical route is to identify one likely target, check the counter, and only then repeat the hunt. That short check can save an entire run spent defeating the wrong vehicle.
Choose the stage and record the starting counter
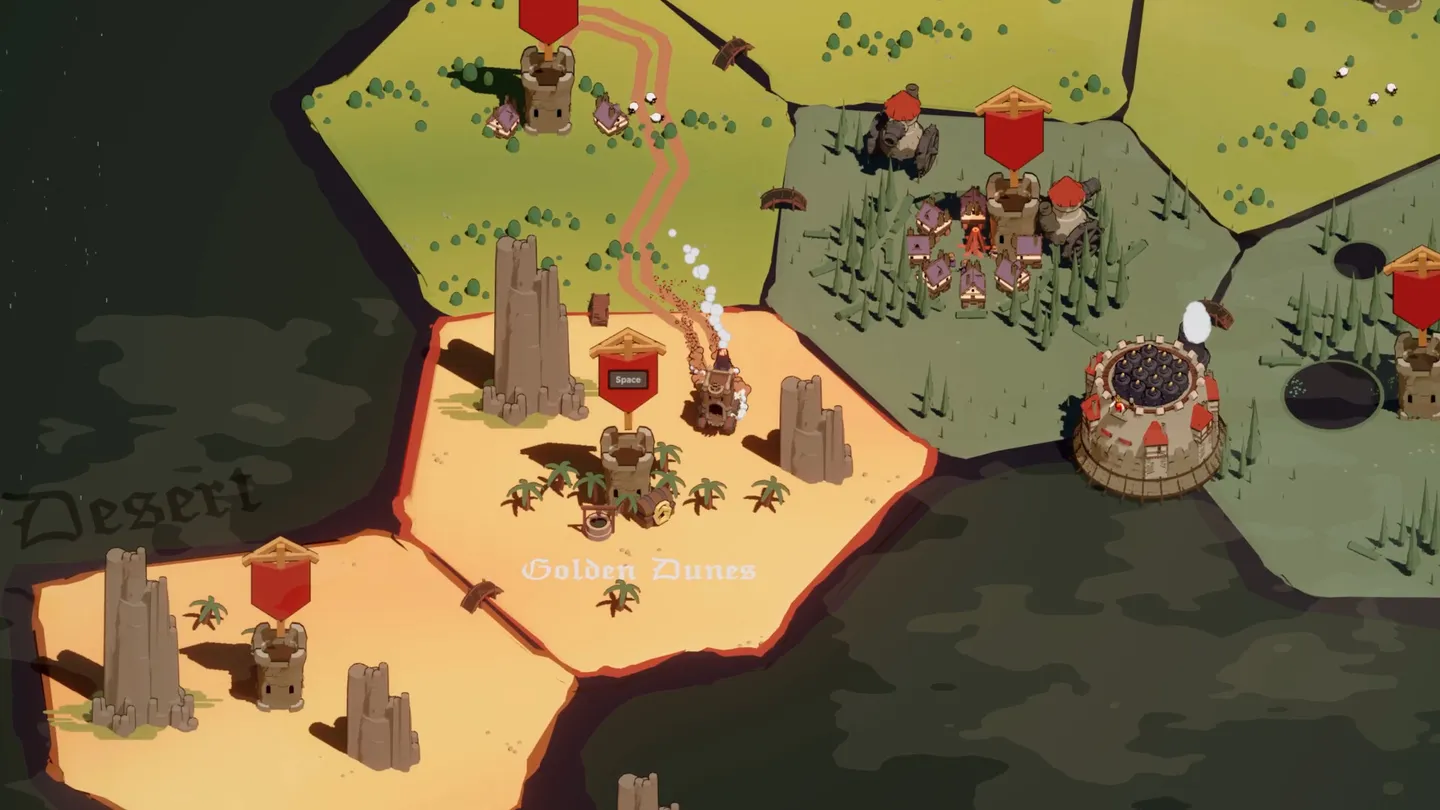
Start by selecting the stage on the overworld and inspecting its objectives. The screenshot below shows the stage-selection interface with Golden Dunes selected; it is an interface reference, not a claim that Golden Dunes is the required Harvester location. The first-stage grassland identification comes from player reports, not from this image.
Before entering, note the exact objective text and current progress. For example, if the counter reads three of five, your next useful test is whether one suspected Harvester advances it. A screenshot or a short written note is enough. Do not replace the current requirement with a remembered Silver reward from another challenge.
Use a stage you can already survive comfortably. This is an identification task before it is a speed-farming task. Increasing difficulty while also learning the target introduces another problem: you may lose the run before checking whether the enemy was correct. A familiar Wanderburg beginner route leaves more attention for enemy recognition.
Distinguish the roller from treasure carriers and bosses
Look at the whole vehicle rather than one feature. The useful community description combines its size, slow movement and broad spiked front roller. Tracks alone are not enough. A chest symbol, a large body or a valuable-looking enemy also does not establish the quest identity.
Keep bosses separate from ordinary large vehicles. An enemy with a drill-like front is not automatically a Harvester, and a nickname used during commentary is not an in-game name. The Taurus Drillus boss guide covers a different named encounter. Neither its presence nor its defeat should be assumed to advance this objective.
| Observation | Useful interpretation | What it does not prove |
|---|---|---|
| Slow tank with a long front roller | Matches the reported Harvester appearance | A guaranteed counter increment |
| Large vehicle carrying treasure | A possible reward target | That it belongs to the Harvester objective |
| Named boss encounter | A boss fight to handle separately | That all large enemies share quest credit |
| Counter rises after an isolated kill | Strong evidence for that target in your run | Its spawn time on every map |
When several enemies disappear together, the counter may be harder to interpret. If possible, check a clearly observed kill instead of crediting whichever large vehicle was nearest when the battle ended.
Test one kill before repeating the hunt
- Record the objective and starting count before the run.
- Find a vehicle matching the slow, front-roller description.
- Defeat it with the loadout you already understand, without assuming contact is safe.
- Check progress when the objective screen is available again.
- Repeat the same identification only if the count supports it.
This is a verification procedure, not a claim that the game always updates the display immediately. If you cannot inspect the counter during combat, compare it after the run. Avoid declaring a bug while the relevant screen still shows an old value.
During the attempt, preserve a route out of the fight. The target may move slowly while other enemies continue closing in. Letting a promising sighting pull you into a crowded corner can end the test before you learn anything. If the fight is taking too long, continue developing your main attack rather than repeatedly circling a durable target with weak damage.
Handle a Harvester counter that does not increase
The first thing to check is enemy identity. The reported three-of-five case shows why repeatedly killing treasure vehicles is not a reliable substitute for identifying the roller. If the same type of kill fails to count again, stop treating its appearance as confirmation.
Next, compare the wording you recorded with the objective currently selected. Keep cumulative kills separate from challenges that say “in one run,” and keep Harvester kills separate from walking-vehicle or mortar-tower objectives. Similar progress counters can sit beside one another without measuring the same action.
Then consider how clean the observation was. Did the suspected target actually die? Did it leave the screen while your attention moved to another fight? Did several large vehicles overlap? These questions are more useful than immediately changing every part of the build.
If a clearly observed target repeatedly fails to count, retain the stage, game version, before-and-after values and a short description of the enemy. That makes a possible progression problem reproducible. It does not establish a hidden kill-credit rule, and this guide does not claim that a particular weapon or captain is required for credit.
Use a dependable build instead of a Harvester-only purchase
There is no established mandatory Harvester weapon in the collected material. Bring a setup that can damage a durable vehicle while the castle keeps moving. A broadside plan needs room beside the target; a front-facing attack needs a useful approach line. Missing the attack and lacking damage are different problems.
Do not spend all available Silver on an unverified shortcut. If your current loadout already clears the stage, use it for the first counter test. If it struggles before reaching the target, solve that earlier failure through the best loadout guide rather than buying equipment solely because another player called it overpowered.
Community discussion mentions Harvesters while talking about artifact opportunities, but it does not provide a dependable reward table. Plan the run around the displayed objective, not a guaranteed chest rarity or a precise profit figure. An optional reward is useful only if collecting it does not destroy the attempt.
Finish the objective without chasing an invented spawn schedule
The launch recording includes questions about whether another Harvester appears after a kill or after a timer. Those questions are not answered there. Waiting at a fixed minute, following a claimed coordinate or leaving one alive to force another spawn would therefore be an experiment, not a documented farming method.
Continue normal progression while watching for the identified shape. If the next sighting is uncertain, use the same counter check instead of weakening the standard after the first success. For a cumulative objective, a reliable kill across several manageable attempts is more useful than an unsupported promise to finish everything in one run.
Once the objective is complete, read the reward and any newly available purchase separately. Challenge progress, Silver in hand and an item being purchased are different states. The Silver farming guide explains that distinction and helps choose the next objective without assuming a Harvester kill automatically equips a new module.