
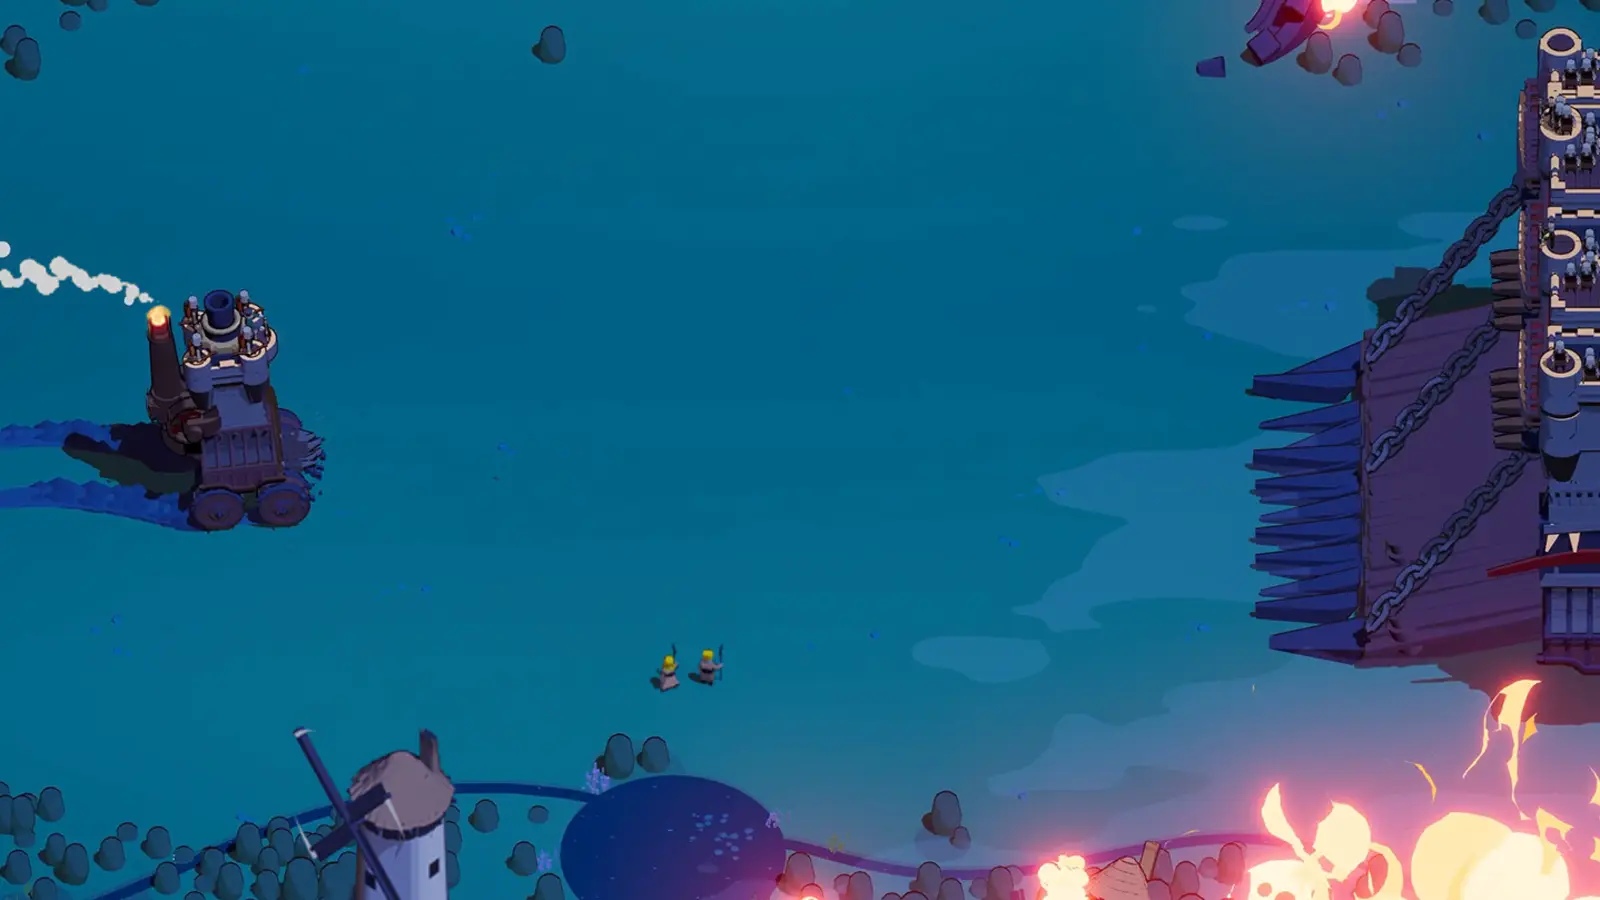
Win the gate, then fund the purchase
- Reviewed
- Scope
- Early Access; see version notes
The recorded Tankenburg route has two separate stages: defeat all four bosses in Dark Forest level 1, then buy the vehicle with Silver. The player reads a 5,000-Silver price after completing the boss gate. Later Dark Forest challenges and Sinister Swamp runs supply money; they are not additional requirements for the same unlock.
That distinction is the main thing to check if you have already cleared the area but cannot select the tank. Inspect whether the vehicle is still locked by a condition or simply waiting for payment. The steps below also cover preparing the four-boss attempt and learning the vehicle afterward. The price is an observed Early Access value, so confirm the current selection screen before budgeting.
Check which stage of the unlock you have reached
Open the vehicle's entry and read the displayed condition and purchase state. If the boss requirement is unfinished, plan the Dark Forest attempt. If the requirement is complete and a price is available, the remaining task is currency. If the vehicle is owned, select it and inspect the loadout rather than continuing to repeat the unlock route.
The recorded sequence is unusually clear about these stages. After the fourth Dark Forest level-one boss falls, the player identifies Tankenburg as unlocked. Soon afterward, the price becomes the obstacle. Later, the player explicitly says that the vehicle can be purchased but the account does not yet have enough Silver.
| Your current state | Relevant task | Unnecessary assumption to avoid |
|---|---|---|
| The boss condition is incomplete | Finish the stated Dark Forest requirement. | That earning more Silver alone will remove the lock. |
| The condition is complete, but Silver is short | Earn the remaining currency. | That another named biome is a second mandatory gate. |
| The vehicle is available and affordable | Complete the purchase and select it. | That an unlock notification automatically bought it. |
| The vehicle is owned but the setup is unusable | Inspect selected equipment and prompts. | That the entire boss route must be repeated. |
Record the actual wording if your client differs from the observed route. A later version or a different progression state should be resolved from its own objective, not by silently adding extra requirements to an older account's sequence.
Enter the correct Dark Forest challenge
The requirement identified in the recording is Dark Forest level 1 and its full four-boss sequence. Do not substitute a similarly named later challenge simply because it appears near the vehicle in a video or overworld menu.
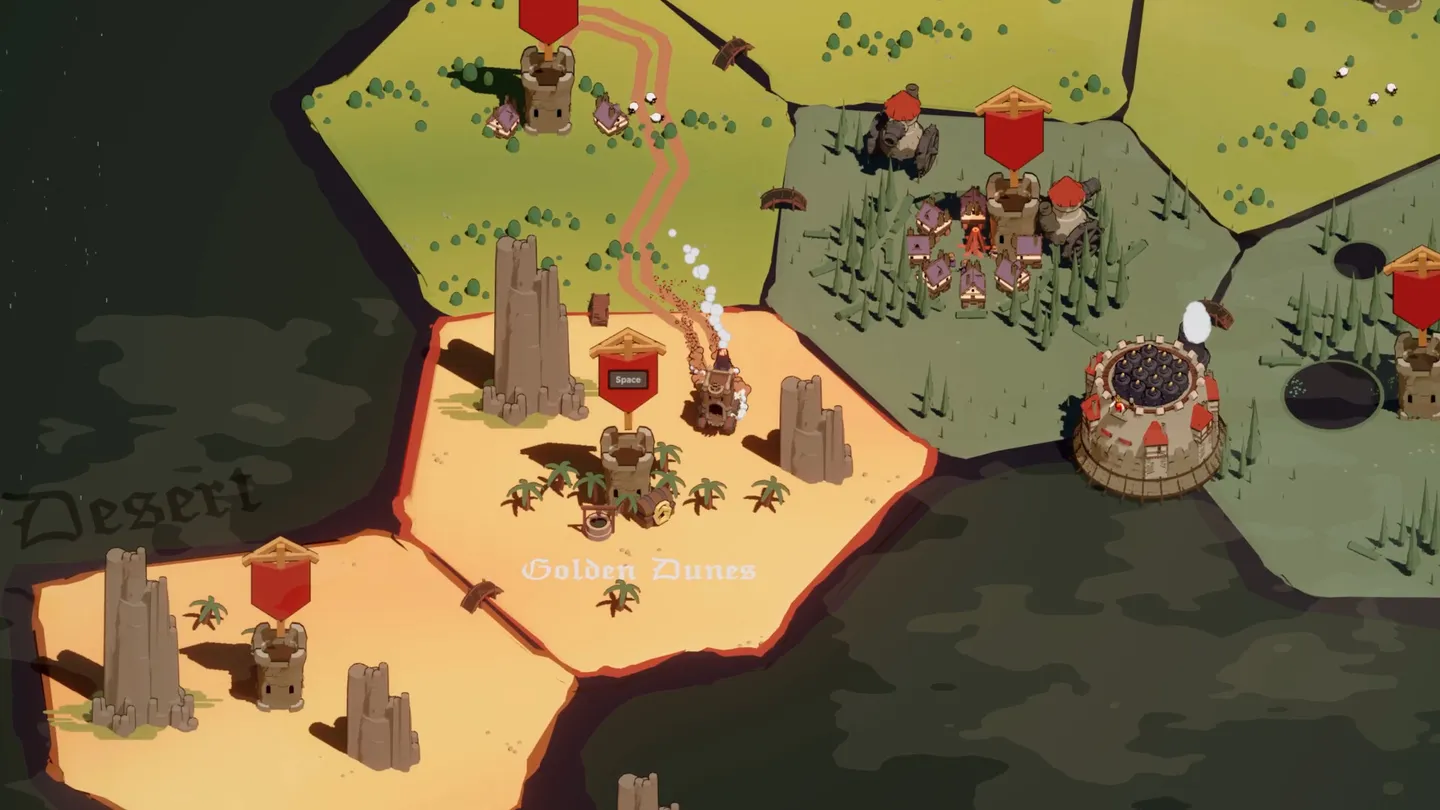
Before starting, confirm the selected area and difficulty. The overworld image above illustrates the broader stage-selection context, but your current objective text is the decisive reference for the attempt. A wrong selection can still produce useful rewards while failing to advance the vehicle condition you intended to complete.
Set the run's purpose as finishing the fourth boss. Other objectives, module experiments, and relic detours are secondary. You can collect useful progress along the way, but a route that repeatedly sacrifices the final fight for optional rewards is not completing this gate.
The available example uses Spiderburg with an arrow-focused setup. It demonstrates one working approach, not a requirement to use Spiderburg, arrows, a particular captain, or a precise artifact sequence. Use a vehicle you can already operate well. Buying several unfamiliar components before the attempt can make the preparation more complicated than the unlock itself.
Prepare damage that works throughout the sequence
Choose equipment that can handle both a focused boss target and ordinary enemies around it. A large burst is useful only when it connects; coverage during cooldowns keeps the approach and retreat from filling with threats.
Before entering the demanding part of the run, test your main active attack in open space. Know its direction and observe whether the target takes damage. If you are using a side-facing weapon, plan a route that presents that side. If the main attack fires forward, preserve enough room to align the castle without driving directly into a crowd.
Upgrade the parts of the build that you are actually using. The observed arrow attempt values both automatic pressure and active volleys, while also accepting other useful modules when preferred offers do not appear. It succeeds without receiving every hoped-for upgrade.
Keep a fallback for disappointing choices. Waiting for one perfect card while rejecting workable damage or survival can make the fourth boss harder than necessary. The loadout planning guide helps distinguish the equipment you can start with from the finished build you hope to assemble later.
Use the first boss to assess movement
In the recorded Dark Forest attempt, the player praises Spiderburg's turning but repeatedly notices that its speed is insufficient. That is a useful distinction: being able to rotate neatly does not guarantee that you can leave incoming fire or cross open ground quickly enough.
Use the opening and first boss to assess your own vehicle. If projectiles repeatedly catch you during a straight escape, movement may deserve attention. If the problem is turning into obstacles, improve the route and begin the turn earlier. These are different failures, even when both feel like the castle is too slow.
After the boss, read the vehicle upgrade choices in the context of the fight. Movement can help preserve distance and reach a safer approach. Defense can provide more room for mistakes when damage is already difficult to avoid. Neither choice should be copied mechanically from one recorded attempt.
Do not treat old handling impressions as measured current stats. Updates have changed vehicle behavior, and the recording does not provide a controlled speed or turning-radius test. Use it to recognize the kind of problem to watch for, then judge the chassis and upgrades you are actually playing.
Keep the middle bosses from draining the final attempt
The four-boss requirement makes the condition of the castle between fights important. A victory that leaves you surrounded and badly damaged can turn the next section into a recovery emergency. Preserve enough space to collect useful resources and prepare another attack cycle.
During an ability cooldown, move through a route that reduces immediate pressure. When the attack is ready, approach from a direction that lets it connect and leaves a way out. This rhythm is preferable to repeatedly remaining beside the boss while waiting for the next activation.
If an upgrade improves both your main attacks through a shared category, it can be efficient. The arrow example benefits from choices that support more than one part of its damage plan. However, do not assume a bonus affects a module merely because the names or visuals look related; check the actual type or position specified.
Health, movement, and damage should be evaluated together. An extra attack may shorten a fight, but it does little if you cannot survive the approach. More health can keep the attempt alive, but it should not become a reason to stay under sustained fire. The aim is to reach the fourth boss with a plan that still functions.
Be selective about relic detours near the fourth boss
One of the most useful lessons in the recorded unlock run is a mistake. Near the final fight, the player diverts toward another relic and takes a substantial amount of damage. The optional pickup competes with the actual objective at the moment completion is already within reach.
Before making that detour, ask whether the current build can finish the boss without it. If the answer is yes, maintaining a clean attack route may be more valuable than another random choice. If the answer is no, identify what kind of improvement could realistically change the fight and whether the pickup is reachable.
Avoid committing merely because the reward is visible. Look at the enemies between your castle and the pickup, the direction of incoming attacks, and the space available after the collection. A route that ends against another vehicle can cost more than the artifact supplies.
This is not a recommendation to ignore every reward during a boss fight. Safe pickups can support the attempt, especially when they address an immediate problem. The useful distinction is between a short, controlled pass and a diversion that abandons the boss plan while placing the castle in danger.
Finish the fourth fight before counting the gate complete
Being close to a clear is not the same as completing it. Keep attention on the boss's remaining health and your own escape route. A nearly defeated boss can still end the run if you lose patience and drive into the most crowded angle.
Use the attacks you can land consistently. If a particular ability has been unreliable throughout the fight, do not suddenly depend on it for a risky finishing collision. Continue the approach-and-retreat pattern that has been working, while avoiding optional fights that do not help the clear.
After the kill, inspect the result and the vehicle entry. The recorded route explicitly associates defeating all four bosses in Dark Forest level 1 with Tankenburg becoming available. The purchase state gives a more useful next step than the vague feeling that something should now be unlocked.
If the condition has not changed, compare the selected area, difficulty, and completed boss sequence with the actual requirement shown. Keep that evidence before repeating the attempt. Do not assume a missing update means that you must clear Sinister Swamp simply because the example later visits it.
Fund the 5,000-Silver purchase separately
The player reads a 5,000-Silver cost after the boss requirement is complete. Treat that as the price observed in the recording and check the current vehicle entry. If the value differs, budget from your client rather than forcing your account to match a historical amount.
Silver is the permanent purchase currency. Gold collected inside the run helps the build grow, but the gold total is not your vehicle budget. The gold and Silver guide explains the distinction if a successful run appears to have produced fewer spendable coins than expected.
If the remaining balance is short, inspect unfinished objectives on stages you can handle. The later high-difficulty attempts in the video are one player's earning route; they do not establish the fastest or necessary route for every account. A manageable task can be a better choice than repeated early failures on a harder area.
The Silver farming guide covers objective scope, boss rewards, and Overtime without promising a fixed number of runs. Keep the purchase target in mind when spending between attempts. Buying unrelated options can extend the funding stage even though the unlock condition is already finished.
Purchase the vehicle, then verify the selected setup
Once the entry is available and affordable, complete the purchase and confirm that Tankenburg is the selected chassis. The unlock notification, purchase, and active selection are separate things to inspect. Do not begin a test and assume the new vehicle is equipped merely because you just bought it.
Review the module positions shown on the vehicle screen. This guide does not supply a complete verified Tankenburg slot chart, so use the current loadout instead of copying another chassis's equipment unchanged. A module belonging to your preferred damage family still needs a compatible position.
Keep the initial equipment familiar where possible. You have already changed the vehicle; changing the captain and every attack at the same time makes it harder to identify why the run feels different. A straightforward first test should show how the chassis moves and how your known weapons behave on it.
If a selection screen freezes, treat that as a technical symptom and record the exact action that preceded it. A frozen interface is different from a visible purchase or equipment requirement. The crash and freeze checklist explains how to separate those cases without deleting progress.
Learn the armor and handling trade-off
The recorded player describes Tankenburg as heavily armored but slow to turn and accelerate. This is a qualitative observation, not a measured comparison of every chassis or a promise that armor makes direct fire harmless.
Take the first attempt to a familiar area and observe how much earlier you need to begin a turn. Compare a short correction with a wide turn around enemies. Notice whether you are late because the vehicle accelerates slowly, because the route is obstructed, or because you began steering after the opening had already closed.
Preserve an exit before committing to an attack. A more armored castle still benefits from avoiding sustained cannon fire and unnecessary collisions. If the old route depended on a quick pivot, widen it rather than repeating the same maneuver and expecting the new chassis to behave identically.
Ram is proposed at the end of the recording as something that might suit the vehicle. That is a build idea to test, not an established mandatory module or a demonstrated complete Tankenburg build. First understand the chassis with available equipment, then decide whether a movement-oriented tool improves the problem you actually encounter.
Keep Tankenburg and Tankbert distinct
Tankenburg is the vehicle in this route. Tankbert is a captain selected separately. A discussion of Tankbert on Spiderburg is therefore not proof that the player is using the tank chassis, and buying the captain does not complete the vehicle's Dark Forest condition.
When comparing advice, write down the chassis and captain as separate choices. Also distinguish the starting modules from the upgrades collected later. This prevents a powerful late-run screenshot from turning into an impossible starting loadout.
If you are still deciding whether to change vehicles, the Spiderburg equipment guide explains its two-Top, no-Side arrangement and the purchase warning that can block a first run. Choose the chassis whose slots and handling support your plan. Tankenburg's unlock adds another option; the next useful step is learning when that option works for you.