
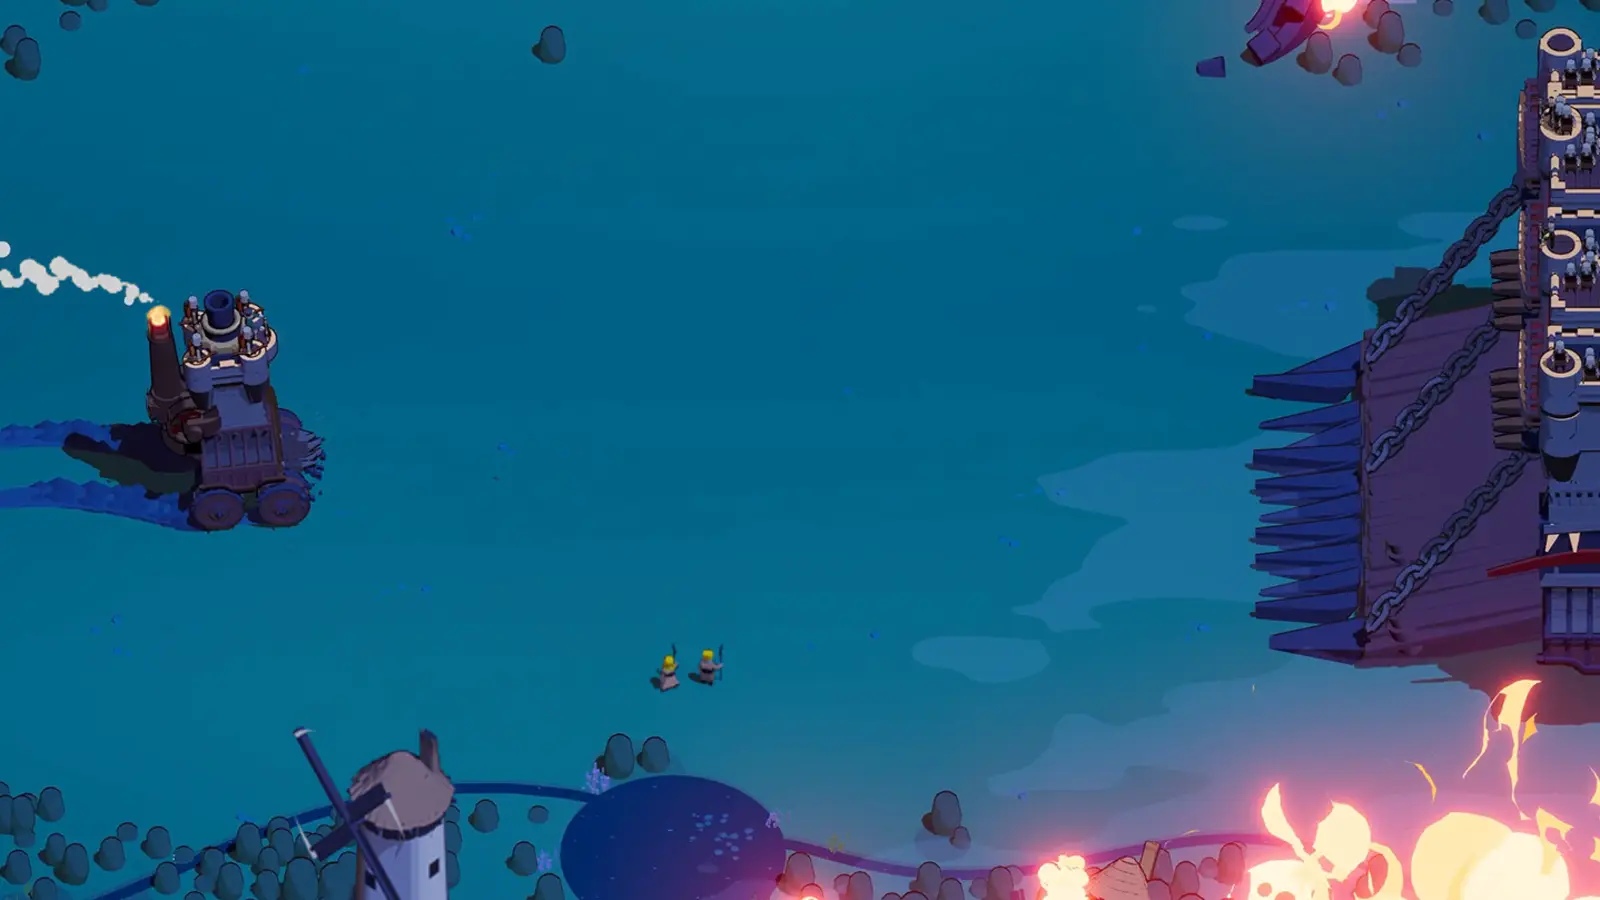
Rank the choice for the run you want
- Reviewed
- Method
- Editorial priorities, not a complete roster benchmark
Use this Wanderburg tier list for the next decision
For a normal clear, start with a damage plan you can assemble now: arrows with deployed turrets, a cannon-focused setup, or an established summon build. Move specialist choices such as Tankbert's long-run health scaling and Duelist's close-range Ram setup up your list only when you can support their trade-offs. A build that becomes strong much later is not automatically the best purchase for a struggling early run.
This is an editorial priority list, not a measured ranking of the entire roster. Its tiers describe when to choose a supported build direction. They do not claim equal-version damage testing or declare untested equipment weak. Normal progression and extended Overtime have separate priorities, so there is no single “best at everything” winner.
Captain, chassis, crew and module are also different choices. Tankbert is a captain; Tankenburg is a vehicle. A module's position in a damage plan does not tell you which captain to buy, and an excellent module is unusable on a chassis without the correct slot.
Build tiers for a normal stage clear
The following tiers rank practical starting priorities when the named equipment is available. “Specialist” means a narrower operating requirement, not a lower damage ceiling. The distinctions come from the available playthroughs and player reports, with recommendations separated from measured facts.
| Priority tier | Build direction | Choose it for | Main condition |
|---|---|---|---|
| A: establish a main damage plan | Arrows and deployed turrets | Damage while steering around an encounter | Keep targets inside turret coverage |
| A: establish a main damage plan | Cannon-focused loadout | Deliberate bursts against durable targets | Align front shots and side volleys |
| A: establish a main damage plan | Summon-focused loadout | Let friendly units contribute while you move | Watch targeting and protect the castle |
| B: add control or specialize the main plan | Lightning Mage setup | Damage with control against pursuing threats | Support it with upgrades and usable escape options |
| C: choose for a specific run objective | Tankbert long-run build | A deliberate attempt to extend Overtime | Survive the opening and support later recovery |
| C: choose for a specific driving style | Ram Duelist build | Close-range attacks and knockback | Manage boost, contact and the exit after a hit |
Three directions share the first tier because the evidence supports different ways to clear, not an honest numerical order between them. Choose the one whose movement and aiming requirements fit your play. The Wanderburg best build comparison provides the equipment details behind those broad options.
Module priorities depend on slots and upgrades
The module-selection screen is the place to check what your current chassis can actually accept. In the example below, the choices occupy different slots. A recommendation from a finished build should never override the slot label in front of you.
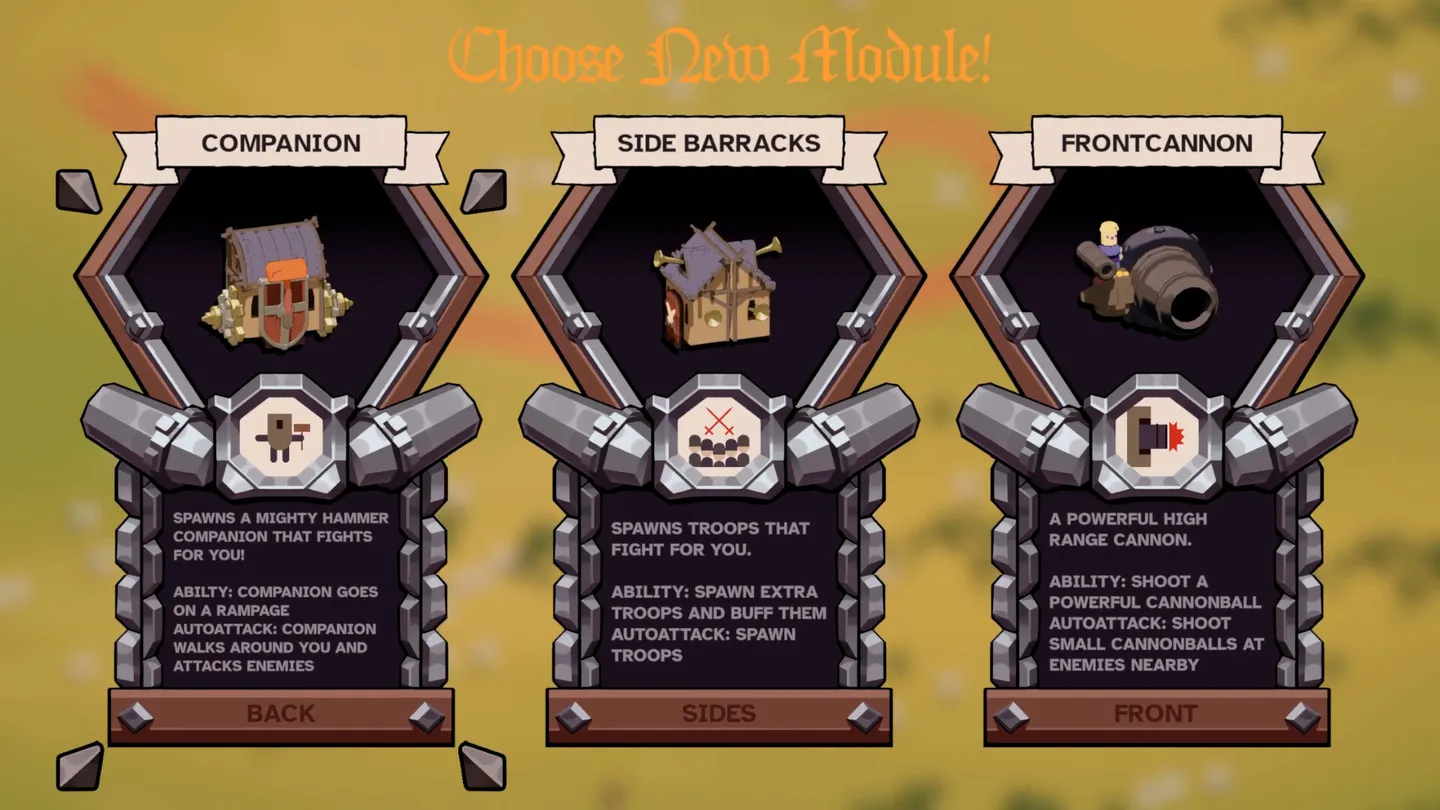
For arrows, the useful relationship is mobile damage plus deployed coverage. Archer Tower, Side Ballista and Turret Layer appear in supported arrow directions, but they are not interchangeable installations. Spiderburg has no Side slot, so a Side Ballista recommendation must change when you choose that vehicle. Read the turrets and arrows build before treating a screenshot of a complete setup as a shopping list.
For cannons, judge Front Cannon and Side Cannons by where they fire. A front burst that repeatedly misses is a positioning problem before it is a tier problem. Cannon Tower or Top Mortar can form the top-slot part of a cannon plan, while the remaining slot may serve movement or another function. You do not need every slot to look like a cannon for the main damage plan to remain coherent.
Summons deserve a different check: observe which target receives the attacks. A screen full of friendly units is not enough if they remain occupied away from the boss. The Empress summon build covers this limitation alongside the attraction of a unit-focused captain. Do not transfer every captain bonus to every module simply because both involve allies.
Lightning Mage moves up when control is the missing piece
Lightning Mage receives strong recommendations in the later community build discussions, including a named Tankbert and Spiderburg run. Its attraction there is not just damage. The players value control while dealing with dangerous pursuers and combine the module with movement options rather than asking it to solve every threat alone.
For a player who already deals enough damage but cannot maintain space, that can make it a higher priority than another narrow offensive upgrade. For a new account missing the required chassis or supporting modules, it may remain a later project. This is why its priority changes with the problem rather than occupying an unconditional top rank.
Use the Lightning Mage build guide to separate automatic damage, active control and escape planning. An arrow effect that produces chain lightning is not proof that the loadout contains Lightning Mage. Similar-looking effects should not inflate the number of supposedly independent successful tests.
Captain priorities are a separate comparison
For a cannon-focused plan, Patchy is a relevant specialist, but the incoming-cannon drawback still matters. Hotfix 0.9.10 reduced that penalty; it did not turn enemy cannon hits into harmless contact. If those hits already end your attempts, changing captain can be a better experiment than abandoning cannons.
Huntress appears in both arrow and magic recommendations that emphasize automatic attacks. That does not make active abilities irrelevant. A build can favor automatic damage and still depend on an active deployment, stun or escape to survive a particular encounter. Choose upgrades according to what the module is doing in your run.
Tankbert is a different investment. Player reports disagree about the value of the extra health and the conditions needed for very large totals. One documented discussion includes a much stronger result after changing the loadout and run plan. That supports a specialized route, not a promise that selecting Tankbert alone fixes survival.
Duelist belongs with a deliberate close-range plan. The Ram report describes both useful knockback and the danger of boosting too far into a target's reach. Sire Jonah, meanwhile, is a music-themed captain choice, not an established combat upgrade in this ranking. Use the starting captain comparison for supported trade-offs rather than mixing cosmetic preference and measured strength.
Overtime changes the order of priorities
A fast boss kill and a long Overtime attempt solve different problems. In Overtime, a setup needs continued damage, enough movement to avoid being boxed in, and some workable recovery plan. A cannon volley that ends ordinary fights may leave a dangerous gap if the castle cannot reposition afterward.
This is where the Tankbert build becomes more relevant than its normal-clear priority suggests. The guide uses a named player run with explicit equipment and choices, while keeping disputed health-growth claims out of a universal formula. The relevant comparison is between complete supported setups, not between isolated maximum-health numbers.
The same principle helps evaluate Dash, Teleporter, knockback and cooldown choices. An option that adds no impressive damage number may preserve the time and space needed for the rest of the build to work. Conversely, taking movement support without a functioning main attack can leave durable enemies alive for too long. Inspect the actual failure before swapping priorities.
Adjust the list without rebuilding everything
After a failed attempt, choose one main problem: the first boss took too long, attacks missed, nearby enemies blocked movement, or recovery ran out. Keep the parts that worked. Change the upgrade, module or captain most directly connected to that problem and compare the next attempt on a familiar stage.
Do not unlock an entire recommended list simply to imitate its final form. Additional choices affect what can appear during a run, while unlock-based rerolls have their own thresholds. The upgrade pool guide explains that trade-off without inventing selection probabilities.
Treat a tier as a shortlist, then check ownership, slot compatibility and operating conditions. If the recommended choice fails one of those checks, move to the next supported direction. That produces a usable build now and leaves specialist experiments for a run where their requirements can actually be met.