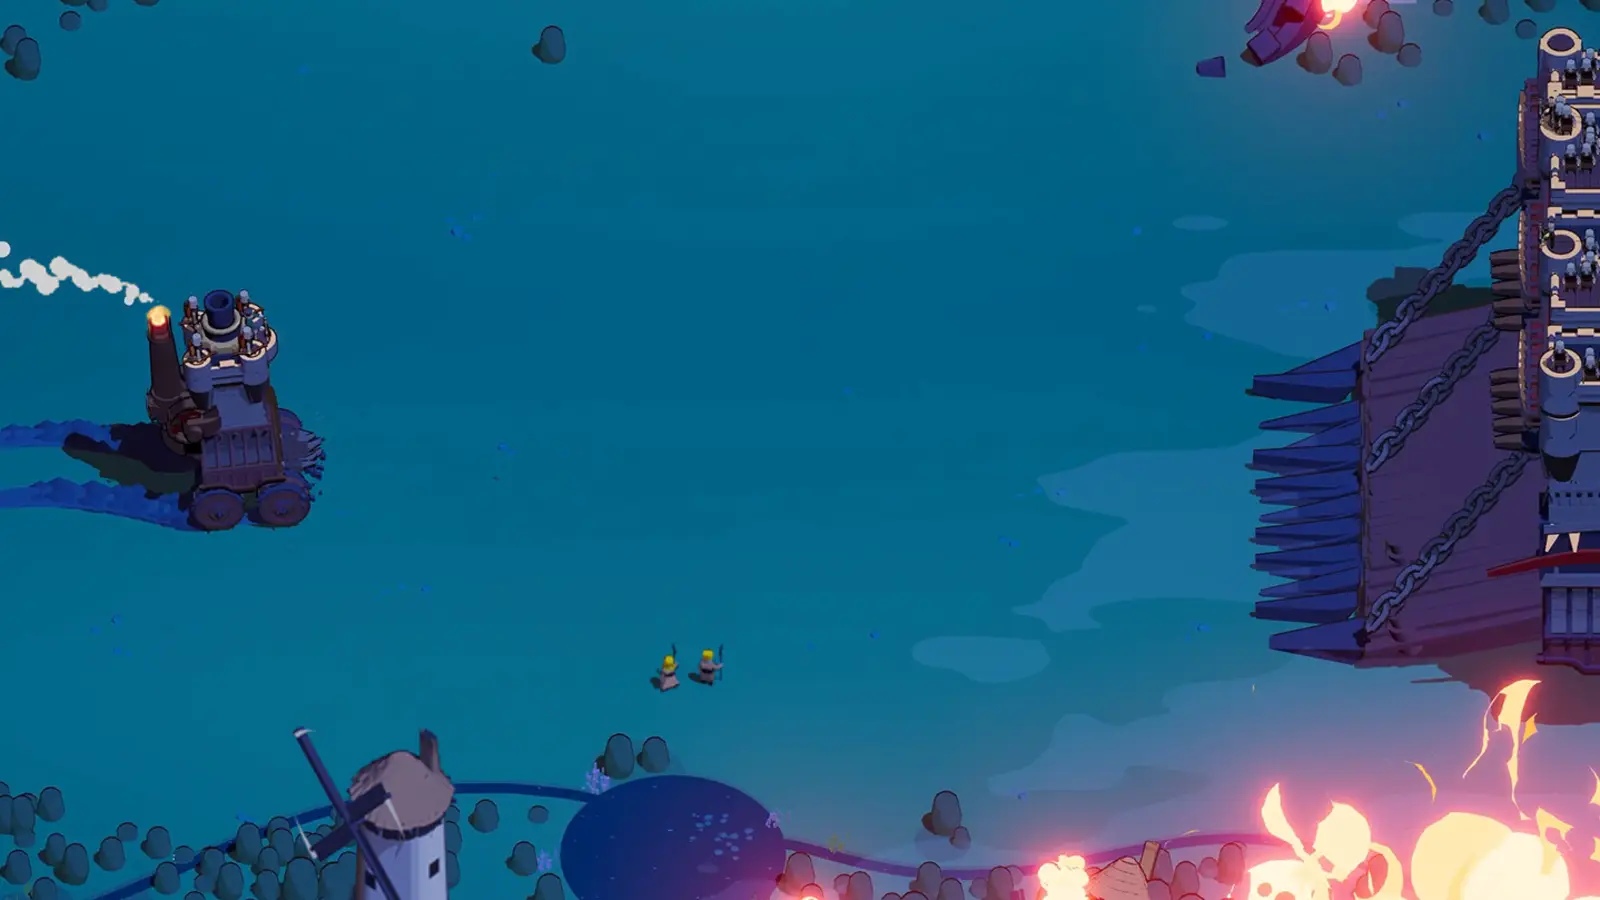
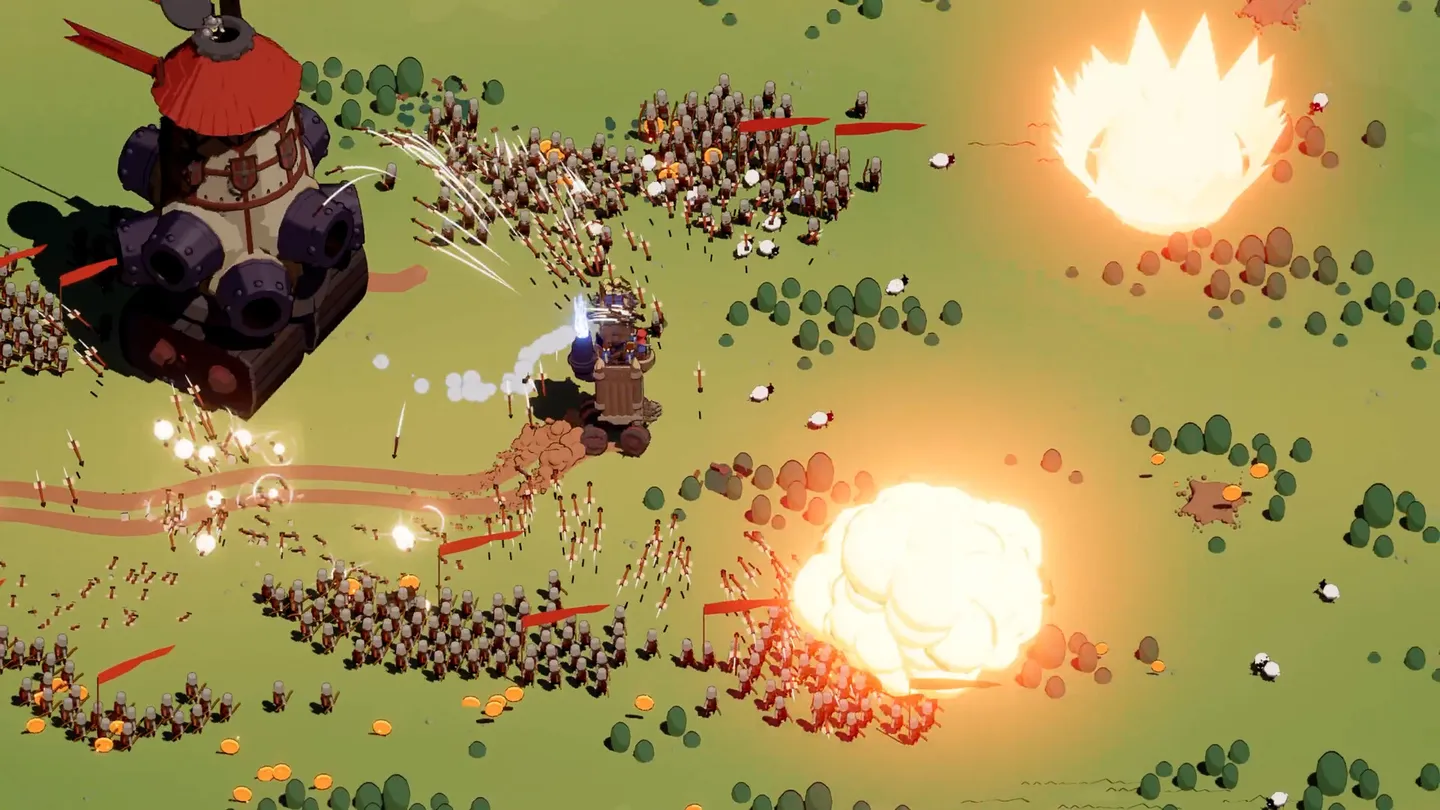
Arrows and deployed turrets
Use Turret Layer, Archer Tower and Side Ballista as one arrow-focused core. Favor this plan when you can keep enemies inside deployed turret coverage while steering your castle out of danger.

Start with the damage plan your account can support, then use the full setup to adapt during the run.
Reviewed:
A strong Wanderburg build is one whose upgrades improve weapons you actually use. Three unrelated rare modules can be less useful than a coherent pair with dependable attacks. Start with the modules you own, then choose a plan that can survive a missing roll.
These are recommended starting points, not a measured universal ranking. The arrow run used Norbert on Waving Fields; the Empress run used a desert stage. Their outcomes are not a controlled comparison.

| Core | Choose it for | What can go wrong |
|---|---|---|
| Turret Layer, Archer Tower, Side Ballista | Arrow damage with turrets firing while you move | You leave the deployed turrets behind or lack a Side slot |
| Front Barracks, Side Barracks, Companion | Summoned units applying pressure independently | You still take projectiles while the army fights |
| Side Cannons with a compatible cannon module | Burst attacks and shared cannon damage bonuses | The target is outside the active firing angle |
The turrets and arrows build explains the complete arrow route. The Empress summon build covers the army setup, including why winning the boss sequence does not make it an Overtime record build.
Before taking an upgrade, identify the attack doing the work. An automatic attack upgrade helps while you steer; an active upgrade pays off only when you aim and activate the ability. Cooldown reduction is valuable when waiting for the next use is what puts you in danger.
For arrows, develop the Turret Layer and Archer Tower together, and prefer bonuses that support their damage family. For summons, improve the barracks that are already spawning your units before scattering levels across an unrelated weapon. For cannons, learn the firing angle before treating more damage as the answer.
You do not have to force a single damage type. A two-family setup is a reasonable fallback when your account lacks enough compatible modules. Keep one main source of damage and make the second choice solve a specific problem.
A Ram can serve as an escape tool even when you are not building around collision damage. That does not make it mandatory, nor does it turn an arrow setup into a Duelist build. Its job is to help you leave when normal movement or Nitro is unavailable.
Check the chassis first. Spiderburg has no Side slot, so the three-module arrow core above cannot be copied onto it unchanged. See the best loadout guide before spending Silver on a component your chosen vehicle cannot equip.
A run that clears bosses but loses in Overtime has not proved the build is bad. It has reached a different survival test. Keep the successful core and use the Overtime survival guide to diagnose what finally caught you.
Filter by damage plan and an owned module. Results are practical options, not a numerical tier ranking.
Results: 3 of 3
Use Turret Layer, Archer Tower and Side Ballista as one arrow-focused core. Favor this plan when you can keep enemies inside deployed turret coverage while steering your castle out of danger.
Build around Front Barracks, Side Barracks and Companion. Friendly units supply pressure while your castle handles movement, collection and survival.
Combine Side Cannons with compatible cannon pressure. Learn which attack fires forward and which asks for a broadside before investing further in damage.
Open a setup for its equipment, conditional choices and failure points.
Use Turret Layer, Archer Tower and Side Ballista as one arrow-focused core. Favor this plan when you can keep enemies inside deployed turret coverage while steering your castle out of danger.
Choose arrows when you want repeated damage while steering and already own compatible modules. The turret setup is especially understandable when you can pull pursuers across an area you have prepared. It asks you to manage where the fight happens, rather than aim every source of damage yourself. Norbert was used in the recorded Waving Fields run; a specialized captain is not a prerequisite for copying its basic idea.
Do not copy the entire equipment list onto Spiderburg: it has no Side slot. Also reconsider this plan if you habitually deploy turrets and immediately flee far beyond them. The modules may be functioning correctly while contributing little to the fight you are actually taking. Start with fewer moving parts if keeping track of your escape route already takes all your attention.
The core concentrates upgrades around arrow weapons instead of spreading investment across unrelated damage families. Turret Layer adds friendly firing positions, while Archer Tower and Side Ballista give the castle its own pressure. A useful fight keeps the target exposed to several of those sources at once. An upgrade that improves the arrow attacks you are consistently landing has a clearer job than a rare bonus for a weapon you do not own. This is a practical synergy recommendation, not a claim that every arrow effect shares exactly the same scaling.
| Priority | Equipment | Instruction |
|---|---|---|
| Damage that applies now | Arrow-related bonuses | Read the effect and check which equipped attacks qualify. Do not select a magic-only bonus merely because your arrows have an electrical effect; the damage family and the added effect are separate questions. |
| Keep useful abilities available | Relevant cooldown effects | The recorded opener selected an effect that accelerates arrow ability cooldowns after arrow kills. Treat that as a conditional benefit: it is not permanent free cooldown reduction against a lone target you cannot kill. |
| Protect the firing route | Movement or recovery | When enemies reach you faster than you can reposition, a survivability choice can preserve more actual damage than another offensive bonus. Pick it to fix the observed problem, not because the final equipment list demands a specific artifact. |
Set up where enemies will approach, then steer along a route that keeps those enemies near the turrets. Avoid turning every retreat into a journey across the entire map. When a boss moves away, evaluate whether returning to the firing area is safe; do not drive through danger just to preserve an old deployment. Use the castle's own attacks during repositioning and deploy again when you have room. If you take Ram, think about where the movement will end before activating it.
A long recorded run does not establish a universal ranking or an infinite survival method. Turret position, available upgrades and the map all affect the result. Late pressure can still force you away from your firing area. The clearest warning sign is a visually busy battlefield with little damage on the target you need dead: first check coverage, then decide whether another damage upgrade is actually the missing piece.
A missing component or a bad encounter does not require rebuilding every slot.
| Build | Protect first | Missing piece | Practical adjustment |
|---|---|---|---|
| Arrows and deployed turretsPartially verified | Keep enemies within useful turret coverage while preserving an escape route. | No Side slot means no Side Ballista. Use a compatible arrow core instead of rerolling for an impossible slot. | If turrets keep getting left behind, develop reliable castle-mounted attacks and choose safer deployment opportunities. |
| Empress barracks and CompanionPartially verified | Keep the unit producers that are already doing the work. | An unreceived Companion does not make the existing barracks worthless; strengthen the functioning army. | When the castle dies before the units lose, prioritize mobility and recovery rather than adding more units by default. |
| Cannons with a deliberate firing planPartially verified | Preserve one burst you can land consistently. | No Front Cannon purchase yet: continue using owned Side Cannons on a compatible chassis. | If approaching head-on causes damage, improve the broadside approach or use safer supporting attacks. |
Use these distinctions before spending another reroll or changing the entire setup.