
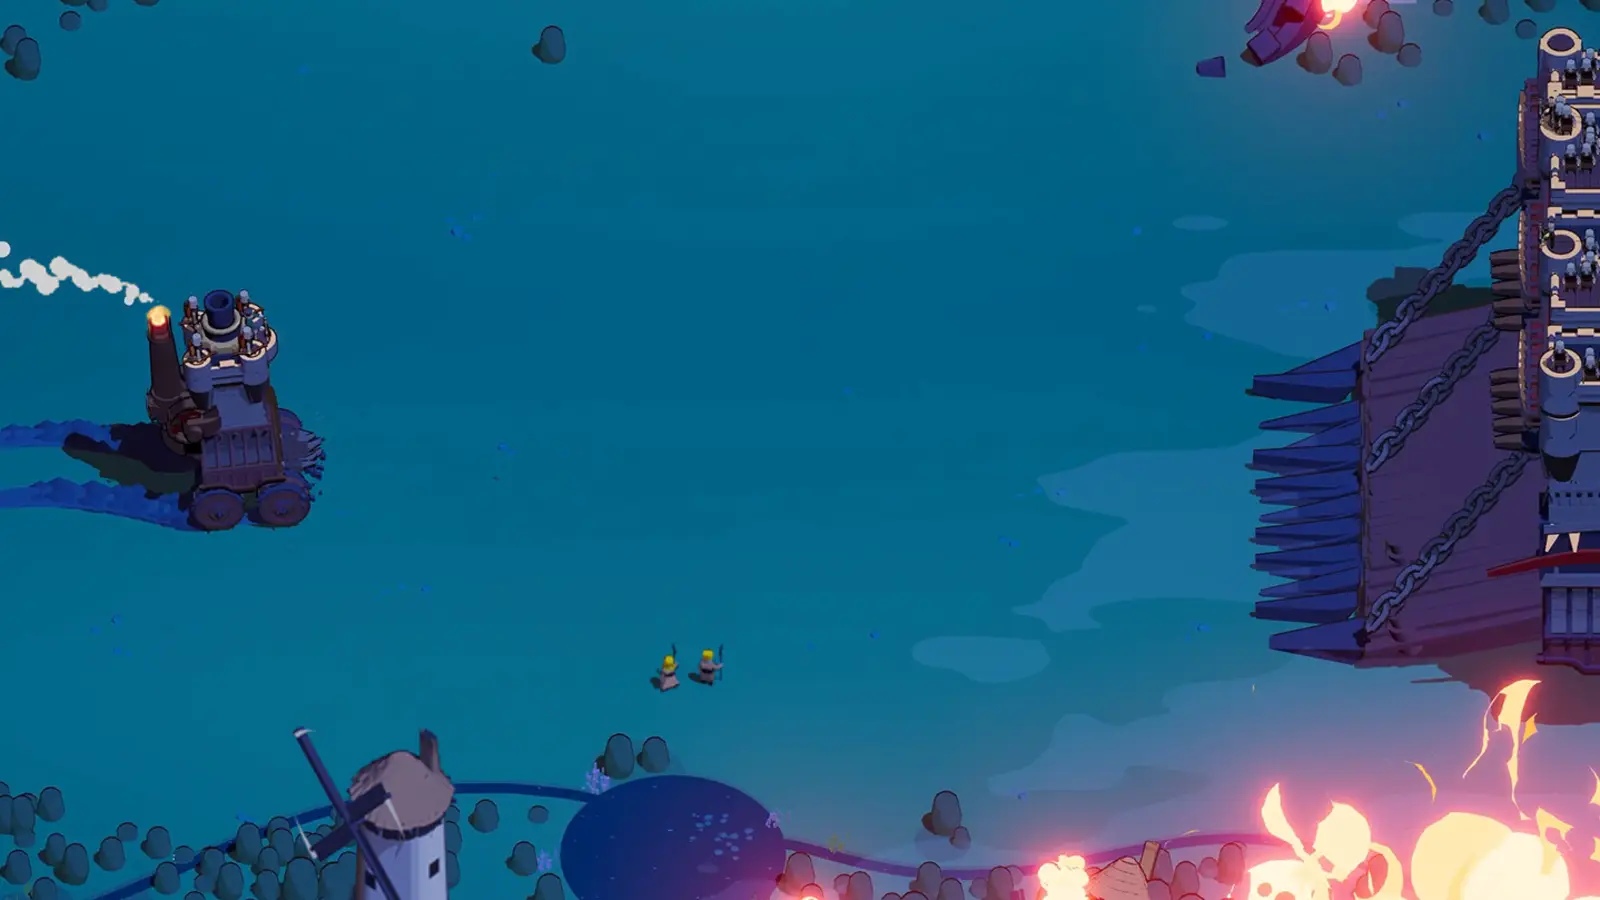
A moving castle with a stationary firing line
- Reviewed
- Scope
- Early Access; see version notes
The core of this build is not standing still behind an invincible wall. Turrets keep attacking while your castle moves, giving you time to turn, collect useful drops and avoid the next volley. If you drive too far away, you can also pull enemies out of the area your turrets cover.
A recorded Waving Fields run combined Norbert, Archer Crew and Turret Layer, then added Side Ballista, Archer Tower and a Ram. That is a working example, not proof that Norbert is the only suitable captain.
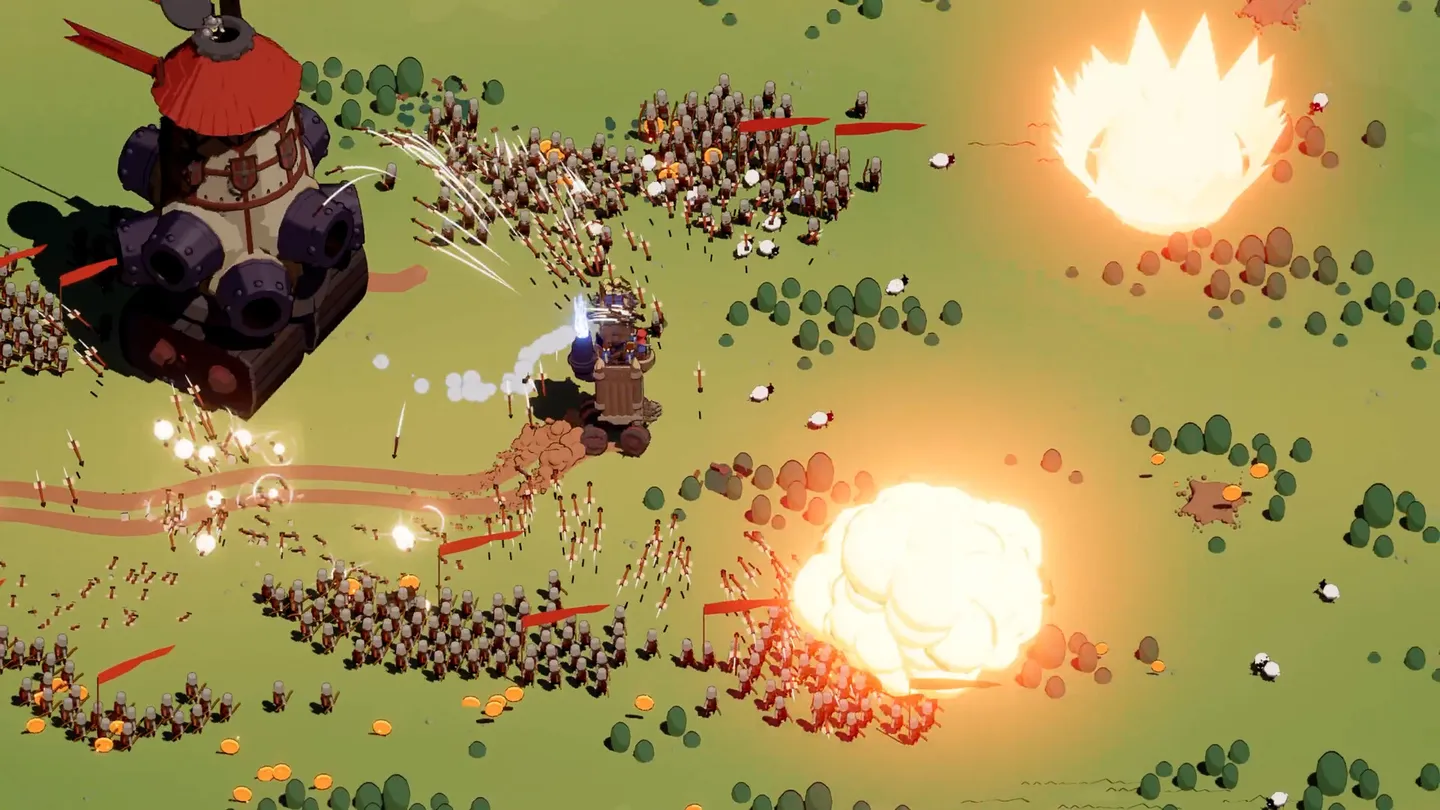
Assemble the turrets and arrows core
- Start with Turret Layer if it is available in your loadout.
- Add Archer Tower for mobile arrow pressure.
- Use Side Ballista when the chassis has a Side slot.
- Treat the Front slot as a separate decision. Ram can provide movement when Nitro runs low.
Do not copy this loadout directly to Spiderburg: it trades away Side slots for a second Top slot. The Spiderburg unlock guide explains that restriction. A build with two Top modules is a different variant, not the same equipment list.
Upgrade Turret Layer for the pressure you face
Cooldown helps when enemies catch you before another useful deployment. Range helps when targets keep stepping outside the firing area. Damage helps when enemies remain in coverage but survive too long. Pick the upgrade that solves the visible failure instead of assuming every cooldown card is automatically best.
Develop Archer Tower alongside the turret rather than leaving all mobile damage underleveled. Arrow-damage bonuses become more valuable when several equipped attacks use that family. Crew upgrades can matter too; do not ignore Archer Crew just because the turret is visually louder.
At special choices, read whether a bonus affects an automatic attack or the active ability. They are separate parts of the module. The module upgrades guide covers that distinction.
Position before deploying
Choose open ground with a way out. Place the turret, let enemies approach its coverage and keep your castle moving around that area. Against a boss, use a pass that leaves the boss exposed to your deployed attacks while you avoid contact.
Do not drive back through an unsafe crowd just to stay near an old turret. Re-establish coverage somewhere safer. A lost deployment is cheaper than losing the run to a collision you could see coming.
Use the Ram as movement when appropriate. Spending every Ram activation on low-value contact damage can leave it unavailable when a swarm closes your exit.
Patch changes affect old arrow advice
Hotfix 0.9.9 reduced Side Ballista automatic damage and improved its active ability. Hotfix 0.9.10 reduced the Back Turret module's maximum attack-speed boost and improved Electric Arrow reliability. Old footage praising extreme automatic fire should not be treated as an unchanged current benchmark.
This is still a coherent build to try, but there is no guaranteed leaderboard placement or measured best damage figure here.
Recover when the core is incomplete
If Archer Tower arrives late, strengthen the turret and the crew you already have. If a Side module is unavailable, keep the damage plan focused rather than buying upgrades for three unrelated families. Save a reroll for a selection where every choice misses your immediate need.
When the setup clears bosses but stops working later, check whether enemies are simply leaving your coverage or outrunning your castle. Those require different answers. Continue with Overtime survival, not another automatic damage pick by habit.
Make the opening work before the full loadout arrives
The Norbert example starts with Turret Layer and Archer Crew. Side Ballista appears next, while Archer Tower and Ram arrive later. That order matters because the opening must survive without the complete collection of arrow attacks shown near the end. Plan your first fights around the turret you actually have, with the crew contributing mobile fire as you collect resources.
Use an early deployment against something worth damaging, then move through accessible terrain while it works. If the target is still healthy when the deployment ends, avoid parking beside it through the whole recharge. Collect nearby resources, improve the existing attack and return from a safer direction. A powerful late turret does not make the starting version capable of instantly destroying every large castle.
The recorded player takes several Archer Crew upgrades before the first boss. Those choices are useful examples of maintaining damage during the turret's downtime. If an upgrade screen offers no suitable turret option, a relevant crew improvement can keep the build moving. Saving every choice for an imagined perfect turret roll leaves your actual starting equipment underdeveloped.
Watch the first swarm as a coverage check. In the Waving Fields run, the player places turrets and leads the advancing group through their fire. Follow that principle when the ground is open enough. If the deployment is behind a crowd that already surrounds you, your immediate task is to escape; that placement is too late to serve as a reliable barrier.
Choose between range, speed, damage and duration
Turret upgrades are easiest to evaluate by watching one deployment from placement to expiry. Identify the reason it stops contributing. A turret can fire quickly and still accomplish little if the target leaves its range. It can cover a wide area and still fail if enemies survive every shot. These are different weaknesses, and an attractive rarity color does not resolve the distinction.
| What you observe | Upgrade direction to consider | Check before selecting |
|---|---|---|
| Targets leave the firing area quickly | Range | Could a better placement keep them nearby without the upgrade? |
| Enemies stay in coverage but survive | Damage or attack speed | Are the shots reaching the intended target? |
| Useful deployments expire during a fight | Duration | Will you still be fighting near that position? |
| You leave each position before expiry | Cooldown or mobile attacks | Would another long deployment be abandoned too? |
The Waving Fields player takes range early because the existing fire rate already looks useful, then later takes a large damage increase. This is a situational sequence rather than a fixed best order. The Spiderburg footage also selects range and later shows turrets contributing from a distance during a boss fight. Together, those examples explain what range is for: keeping deployed damage relevant while the castle has room to move.
Duration deserves the same scrutiny. Longer presence helps if the enemy remains in that part of the battlefield. If you are repeatedly forced to relocate, extending the old turret's life may add little to the next encounter. In that case, bringing the next deployment forward or strengthening attacks that travel with you is the more direct recommendation.
Give Archer Tower its own job
Archer Tower provides arrow pressure from the moving castle and an active barrage. It should carry part of the fight while the turret is recharging or out of position. This is especially useful when a dangerous target refuses to follow your route through an existing deployment. You can reposition the castle and still attack instead of waiting for the entire build to become available again.
The Spiderburg run repeatedly chooses between increasing projectile count and strengthening individual arrows. The player sometimes favors damage because many arrows are already on screen, then adds projectiles after individual hits improve. Use the same question rather than copying an exact level sequence: are too few targets getting hit, or are the targets being hit but surviving? Extra shots and stronger shots need not solve the same problem.
Special choices also change the attack's role. The recordings show slowing arrows, fire arrows, an additional active volley and a lightning option. Slowing is chosen to help escape. Extra active arrows support a deliberate burst against vehicles in range. Lightning is explored as a different branch, with the player sometimes struggling to see its effect. That uncertainty is not a reason to invent a hidden damage multiplier.
An arrow triggering lightning does not mean you have equipped Electric Mage. Keep module identity separate from the visual effect of a branch or artifact. Likewise, avoid assuming that an upgrade for all Top modules improves every part of the loadout. Check the slot and damage-family icons of the equipment you currently have before deciding how many attacks a bonus will affect.
Use Side Ballista actively when the position supports it
The long Norbert recording often favors Side Ballista's automatic fire and openly neglects its active ability. That is a record of how one player used the module. Since the later balance notes weakened automatic damage and strengthened the active ability, copying that habit without reconsidering the current card leaves part of the module's value unused.
When enemies occupy the side of your travel path, test whether the active attack can hit them without requiring a dangerous turn. A useful broadside should fit the route you already need for survival. Do not cross a dense firing lane merely to make a neglected ability look productive. Reposition first, fire when the angle works, and continue toward open ground.
Automatic upgrades still have a purpose. They can improve pressure while you concentrate on steering or wait for a turret deployment. The point is to make the choice intentionally. If the ballista's active attack is consistently unavailable at a useful moment, cooldown can help. If it is ready but never fired, more cooldown reduction will not fix your use of the module.
A chassis without a Side slot cannot solve this issue through rerolls. Spiderburg's second Top slot supports another layout. Build around that slot arrangement from the loadout screen, and treat its arrow run as a separate example. Spending resources looking for a Side Ballista on an incompatible chassis delays decisions that can actually improve the attempt.
Fight bosses in passes through the turret area
A productive boss pass begins before you press the deployment button. Look at the boss's direction, the nearby enemies and the ground you can reach after firing. Place the turret where the boss is likely to spend time, then leave yourself a path around the engagement. Your route should expose the target to arrows while keeping the castle out of a prolonged contact trade.
The first boss in the Waving Fields example moves into the placed turrets and loses health quickly. A later boss does not follow the same route, leaving the player asking why the deployment is not working. The player then places another batch and retreats again. This is an important limit: the strategy depends on the enemy entering useful coverage, not merely on the number of turrets you have placed.
If the boss's health stops falling, check its position before blaming damage. A target outside the deployment cannot be fixed by protecting that position more stubbornly. Use Archer Tower during the transition and establish new turret coverage where the fight is actually happening. Avoid making a sharp return through the group just to rescue the value of an old cooldown.
Ram also needs care during a burst. In the Spiderburg recording, a ram pushes a target out of the player's arrow and mortar attack area. That example supports a simple recommendation: do not spend your escape tool on contact at the exact moment your other attacks need the target to remain in place. Use it to leave a closing route, or wait until the important burst has connected.
Collect the rewards without undoing the successful fight
Turrets can destroy a target while you are elsewhere, which leaves resources behind the current direction of travel. The Norbert player describes a repeated pattern of deploying, retreating and returning for Gold. That collection step is part of the build. If you never return to accessible drops, impressive kills may not translate into the upgrades needed for the next wave.
Return when the route is open enough to make the pickup worthwhile. A magnet can make scattered Gold easier to collect, but its presence does not require you to drive through a dangerous group. The Spiderburg runs repeatedly struggle with health while valuable drops remain elsewhere. Treat the route to the reward as a separate encounter rather than assuming the target's death made the whole area safe.
Recovery from consuming units also has a practical limit here. The arrow footage shows enemies being killed before the player can consume them, leaving sheep and other accessible targets more useful for that particular recovery plan. Do not choose a consume-based effect solely because the screen contains many enemies. Consider whether your automatic fire lets you reach suitable targets and whether reaching them costs more health than you recover.
Leave healing pickups you do not currently need when that is practical, but do not turn them into a guaranteed future reserve. A later swarm or moving enemy can make the return route unsafe. Their value is the recovery you can actually reach, not the health you remember seeing somewhere on the map.
Adjust the finished build for a longer attempt
The Norbert run gradually adds movement speed, health recovery and a Ram used as a second escape. Those decisions explain why the build is more than a collection of damage bonuses. Turrets create time to steer, while movement and recovery let the castle keep using that time after ordinary enemies become harder to clear.
Keep the purpose of Ram upgrades consistent. If you mainly use it to create distance, compare cooldown, duration and movement-related effects before taking contact damage by habit. That does not mean Ram is a required item or provides invulnerability. It means the recorded run uses the Front slot to cover a weakness that more arrows alone would not address.
Eventually, the same long run begins losing health as enemies survive longer and artillery catches up. The ending matters as much as the successful boss sequence. It shows that a strong turret loop still has a limit when outgoing damage, escape frequency and recovery no longer match incoming pressure. A leaderboard position from that recording is not a current performance guarantee.
For your next attempt, keep the successful parts and change the first failing part. If coverage remains strong but you cannot turn out, adjust the movement plan. If you have room but the approaching group survives, strengthen sustained damage. If you escape each pass yet health steadily declines, address recovery. That produces a more useful revision than replacing the whole setup after every death.