
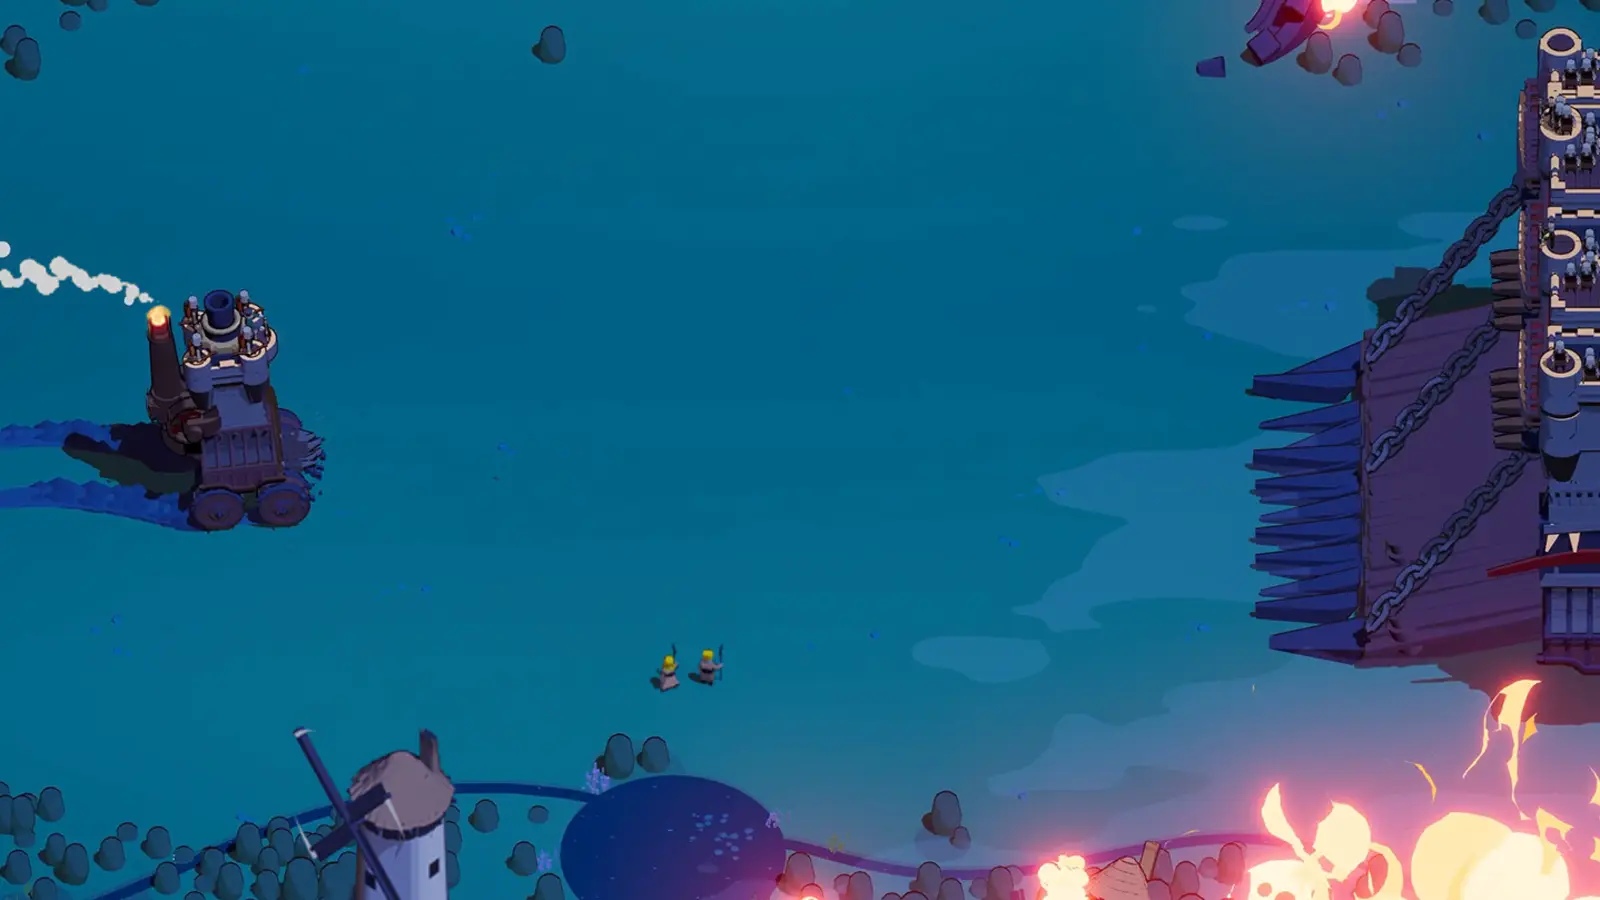
Commit to the hit with an exit in mind
- Build focus
- Ram, melee support and controlled approaches
- Evidence
- Community loadout and Dusky Pines report
- Reviewed
Start with a deliberate Ram build
Ram Duelist is a melee approach built around choosing a useful collision and surviving what happens immediately afterward. A strong hit can create space or finish a target, but the castle still needs somewhere safe to go. Choose this setup if you enjoy lining up attacks and managing speed, rather than expecting the Ram to make every frontal approach harmless.
A first-person community report identifies Duelist, Wizard Crew, Ram and Four Leaf Clover as the starting loadout for a run on Dark Forest 1, Dusky Pines. The player describes the build as powerful and enjoyable while warning about excessive knockback and dangerous follow-through. A separate build recommendation from the same author adds Wanderturm as the chassis and suggests later modules. These accounts provide a coherent route to try; they are not independent tests of a universal best build.
Assemble the melee loadout
The community recommendation starts with Wanderturm, Duelist, Wizard Crew and Ram. Four Leaf Clover or Bumper is suggested as the starting artifact, with Stiletto and Reset Lever unlocked as possible later offers. During the run, the recommended additions are Arms, Companion and either Lightning Mage or Top Mortar.
| Part | Suggested choice | How to use the recommendation |
|---|---|---|
| Chassis | Wanderturm | Follow the documented melee setup before experimenting with another slot layout |
| Captain | Duelist | Account for the damage-taken drawback while boosting |
| Crew | Wizard Crew | This is the named starting choice in both written accounts |
| Opening module | Ram | Develop the attack you have instead of waiting for every support module |
| Artifact | Four Leaf Clover or Bumper | Clover belongs to the actual Dusky Pines starting report |
| Later additions | Arms, Companion, Lightning Mage or Top Mortar | Add support instead of relying on a single collision for every fight |
The report does not supply a full acquisition order for Arms, Companion and the Top module. Do not read the list as a guaranteed sequence. Select the useful addition the run offers, keeping the eventual slot arrangement in mind. The starting loadout guide helps separate choices made before departure from modules obtained during a run.
Learn the approach before maximizing speed
The Dusky Pines player reports being able to hit a Tank Pusher head-on without taking damage in a particular encounter. They immediately qualify that observation: against Tier 2, too much speed can carry the castle into the enemy's range and cause a hit. The lesson is to control the approach and follow-through, not to infer permanent frontal invulnerability.
Before committing, identify both the target and the space beyond it. Avoid an approach that ends beside another dangerous vehicle or against terrain that prevents turning away. After contact, reassess where your castle and the target actually ended up. A large knockback can change the encounter enough that continuing the original line is no longer sensible.
Start by learning a repeatable angle at a manageable speed. Add more acceleration when you can judge the stopping and turning space. If you repeatedly survive the first impact but take damage a moment later, your immediate problem is the exit path. More damage may shorten some fights, but it does not make an unsafe landing position disappear.
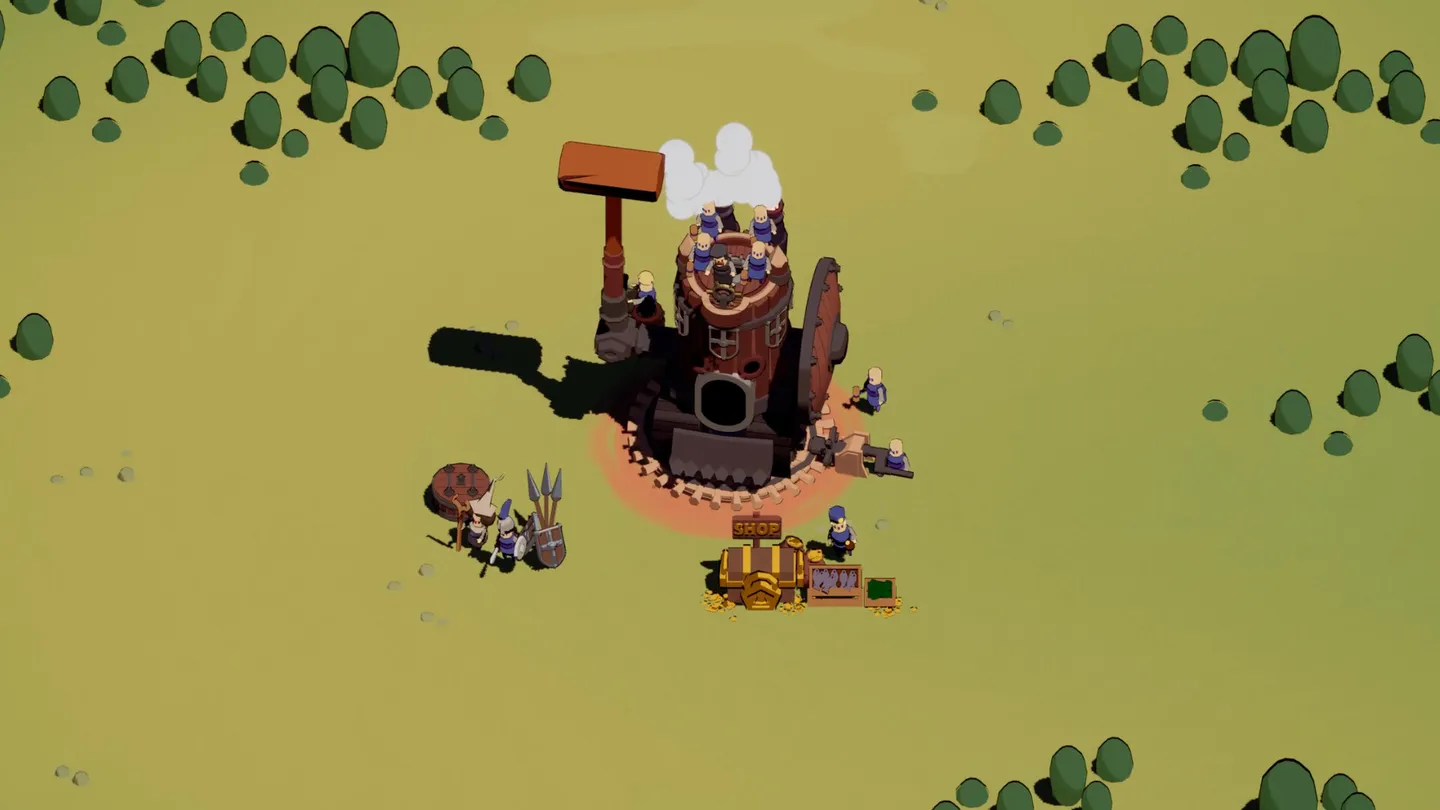
Respect Duelist's boosting penalty
Hotfix 0.9.10 reduced Duelist's extra damage taken while boosting from 50% to 20%. This official change makes the historical penalty smaller; it does not remove it. Advice based on the older value will overstate that particular drawback, while advice claiming boosting is now free of risk goes too far in the opposite direction.
Use boost for an approach that has a purpose. Holding it through a crowded recovery turn exposes the castle while you may be unable to line up another useful Ram hit. Let the situation determine whether you need to accelerate, disengage or simply turn, rather than treating maximum speed as the default state.
The community discussion links speed-oriented Ram play with impressive damage, including claims of one-hit boss kills. Those reports involve varying captains, artifacts and even demo experiences. They do not establish an exact Duelist damage multiplier or a guaranteed result against every boss. Build around controlled successful hits first; spectacular outcomes are not a substitute for repeatability.
Upgrade according to the failed part of the attack
Watch one approach from setup to escape, then identify what went wrong. If the Ram connects but leaves the target largely healthy, damage is the relevant direction to examine. If the hit works but the Ram is unavailable when you need to leave, cooldown deserves attention. If the target is difficult to approach safely, another support attack or control tool may contribute more than further investment in a single hit.
Community Overtime advice notes that Ram can receive a substantial speed-boosting upgrade and recommends reducing the cooldown of movement modules. That makes it useful for movement as well as offense. It also increases the need to judge the destination: a stronger burst of speed can amplify the same overshoot problem described in the Dusky Pines report.
Keep automatic attacks and active ability upgrades separate when reading the cards. The module upgrade guide explains that distinction. Do not assume a card improves the part of Ram you are relying on just because the module's name appears on the screen.
Make support modules cover the gaps
Arms and Companion appear in the suggested melee build because the setup is broader than Ram alone. Develop the modules you actually receive so that the castle still has useful attacks while you turn, recover position or wait for another activation. A build with several neglected support modules remains dependent on its opening weapon even after every slot is filled.
Lightning Mage is the recommended Top option when you want control alongside damage. Community reports describe its stun as useful against dangerous advancing vehicles. Top Mortar is the alternative in the melee list, but separate feedback questions its ability to hit moving targets consistently. If using it, watch whether attacks connect before spending further upgrades on a part of the module that is not contributing.
Do not automatically chase a target that has been knocked outside your support attacks' useful area. Reposition for the next favorable approach. The original feedback specifically criticized excessive Ram knockback for pushing enemies away from other attacks, so consider the whole build's damage opportunity rather than the visual distance traveled by one enemy.
Treat artifacts as improvements, not promises
Four Leaf Clover is the starting artifact explicitly named in the Dusky Pines run. Bumper is offered as an alternative in the later loadout recommendation. Other discussion mentions Bumper, Stiletto and Golden Sword alongside claims of very large Ram hits. That gives you names to recognize when considering offers, but it does not provide a verified damage formula or prove that all three are required.
Reset Lever is also recommended as an unlocked possibility. If it appears, evaluate its contribution to the abilities you have installed. Do not assume that a build recommendation guarantees the artifact will be offered, or spend the opening playing as though a future combination is already active.
Be especially careful with a knockback-focused artifact plan. The same melee player reported difficulty noticing Black Belt's effect in their Ram and Arms build. That observation is not proof the artifact never works, but it is a reason not to base the whole route on an unverified terrain-collision payoff. Favor improvements whose effect you can recognize in the current attempt.
Enter Overtime with stricter contact rules
Overtime advice describes Ram pushing back a single lower-tier Metzelman, with uncertainty about the next tier. It also warns that excessive acceleration can slide the castle close enough to be grazed after the hit. Apply that warning conservatively: success against an isolated early threat does not show that ramming a group of stronger enemies will be safe.
Keep a movement use of Ram available when the encounter does not offer a good collision. You do not have to spend every activation attacking. If the route ahead is blocked, first make space with support attacks or control rather than boosting into the densest part of the wave.
The Overtime survival guide covers the broader need for speed and control. For this build, the useful question is whether you can finish each committed attack with enough room to respond again. When the answer becomes no, reduce aggressive approaches and preserve the run instead of trying to reproduce a reported one-hit kill.
Use the Dusky Pines result at its actual scope
The named run took place on Dark Forest 1, Dusky Pines, and the author explicitly says it was not the hardest level. It demonstrates a player's favorable experience with a known starting loadout, not a completed difficulty ladder or a measured win rate. The linked video was not independently reviewed for this guide, so the written account sets the limit of the claim.
Begin on a map you can already navigate and assess three things: whether Ram is landing, whether support damage contributes, and whether you leave contact without taking avoidable follow-up hits. Change the failing part of that sequence before chasing more extreme speed. That gives Ram Duelist a practical learning path while preserving the central trade-off that makes the build demanding.