
Make the opening minutes count
- Reviewed
- Scope
- Early Access; see version notes
A useful first run in Wanderburg starts with three jobs: collect resources that your small castle can reach safely, learn how its equipped attacks connect, and arrive at the first boss with room to move. Trying to destroy the largest structure immediately can leave you weaker than a short circuit through easy food and resources.
This guide follows the opening decisions through the first clear and the next purchase. The recommendations come from recorded Early Access play, including successful fights and avoidable mistakes. They are a practical learning route, not a promise that every upgrade or enemy appears in the same order. Read the choices shown in your current run before committing.
Choose one purpose before leaving the loadout screen
For an unfamiliar account, make the next attempt about reaching or defeating the first boss with equipment you already understand. If that is consistent, aim to finish the stage. If the immediate obstacle is an unaffordable module, choose a suitable unfinished objective instead. Trying to learn a chassis, force a module challenge, farm currency, and set an Overtime record together makes every decision harder.
Check your selected vehicle and its available equipment positions. Front, Side, Top, and Back are functional restrictions, not decorative labels. A setup described for another chassis may contain a module you cannot equip. Before copying a build, compare its actual slots with your own selection and check that the necessary purchases have been completed.
Then inspect the captain and starting equipment together. Permanent choices often specialize the run rather than simply adding free power. A character whose strengths favor automatic attacks can change how valuable an active ability upgrade feels. You do not need to memorize every character first: choose a combination you can explain, then use the starting loadout checklist when you want to change its direction.
Use the weak opening to gather easy gold
At the beginning, your castle has fewer modules and fewer answers to danger. The early advice in recorded play is to consume available resources and small targets while avoiding fights that take too long. This gives your starting attacks upgrades without asking them to defeat a fortress before they are ready.
Move through nearby resources in a route that leaves open space ahead. If a large target barely loses health after your active attack, reassess the investment. Continuing to circle it has a cost: you are spending time and possibly health while other resources remain available. Leave it, gather more upgrades, and return only if your damage or position makes the fight worthwhile.
Watch the result of collection. Gold supports growth within the run; it is separate from the Silver used for permanent purchases. A good opening can create more levels and stronger attacks without immediately solving an expensive vehicle purchase. The gold and Silver explanation is useful if the balance on the loadout screen seems unrelated to the gold you just collected.
After your castle grows, reconsider what it can consume and where it can fit. Recorded runs show previously troublesome small enemies becoming consumable after growth. That does not mean every enemy is safe to touch, or that every gap remains usable. Growth changes both your opportunities and the space needed to escape.
Learn the automatic and active parts separately
A module is more than the attack that happens while you drive. Recorded gameplay distinguishes passive automatic attacks from abilities that the player activates. Before the boss, observe both parts of your starting weapon. Identify where shots travel, whether an enemy must be on a particular side, and what happens while the active ability is recharging.
Use one deliberate activation against a target you can see clearly. Look at the target's health or visible reaction. If the attack misses, ask whether the target was outside its direction or range before concluding that the module is weak. A broadside and a forward shot ask for different approaches; driving straight at everything does not test them fairly.
Next, continue moving while the ability is unavailable. This reveals the automatic attack's practical contribution. Does it keep weaker enemies away? Can it damage your chosen target without another close pass? That answer helps you choose upgrades. An automatic attack that works throughout a retreat can be more useful to your current driving style than another improvement to an active attack you rarely land.
Avoid learning every input during the boss fight. Confirm the prompt for each equipped ability while you have space, and remember when a new module adds another action. For controller-specific uncertainty, the controller setup and action checks separate input problems from missed firing angles.
Pick upgrades that solve an observed problem
When a choice appears, read which part of the module it changes. Damage, automatic fire, active ability strength, and cooldown can lead to different outcomes. A card that helps your main source of damage deserves attention, but a card that fixes your main source of failure can be more urgent.
Suppose a boss survives because your attack rarely connects. More damage may still leave most activations wasted. Improve the approach and firing angle first. If your attacks consistently hit but the boss takes too long to kill, damage or useful cooldown improvements become clearer priorities. If ordinary enemies block every retreat, improve the coverage that functions while you move.
Rarity matters, but it does not remove the need to read the effect. A strong-looking upgrade for an attack you barely use may contribute less than a modest improvement to the attack doing most of the work. Conversely, do not reject an excellent available card merely because it is outside an imagined perfect sequence.
Keep a preferred choice and an acceptable fallback in mind. Recorded runs sometimes continue successfully with imperfect offers; they also show players repeatedly hoping for a specific module that never appears. A workable current improvement is often better than planning the entire attempt around a reward you have not received. The module upgrade guide develops this decision by attack function.
Prepare an attack-and-retreat rhythm for bosses
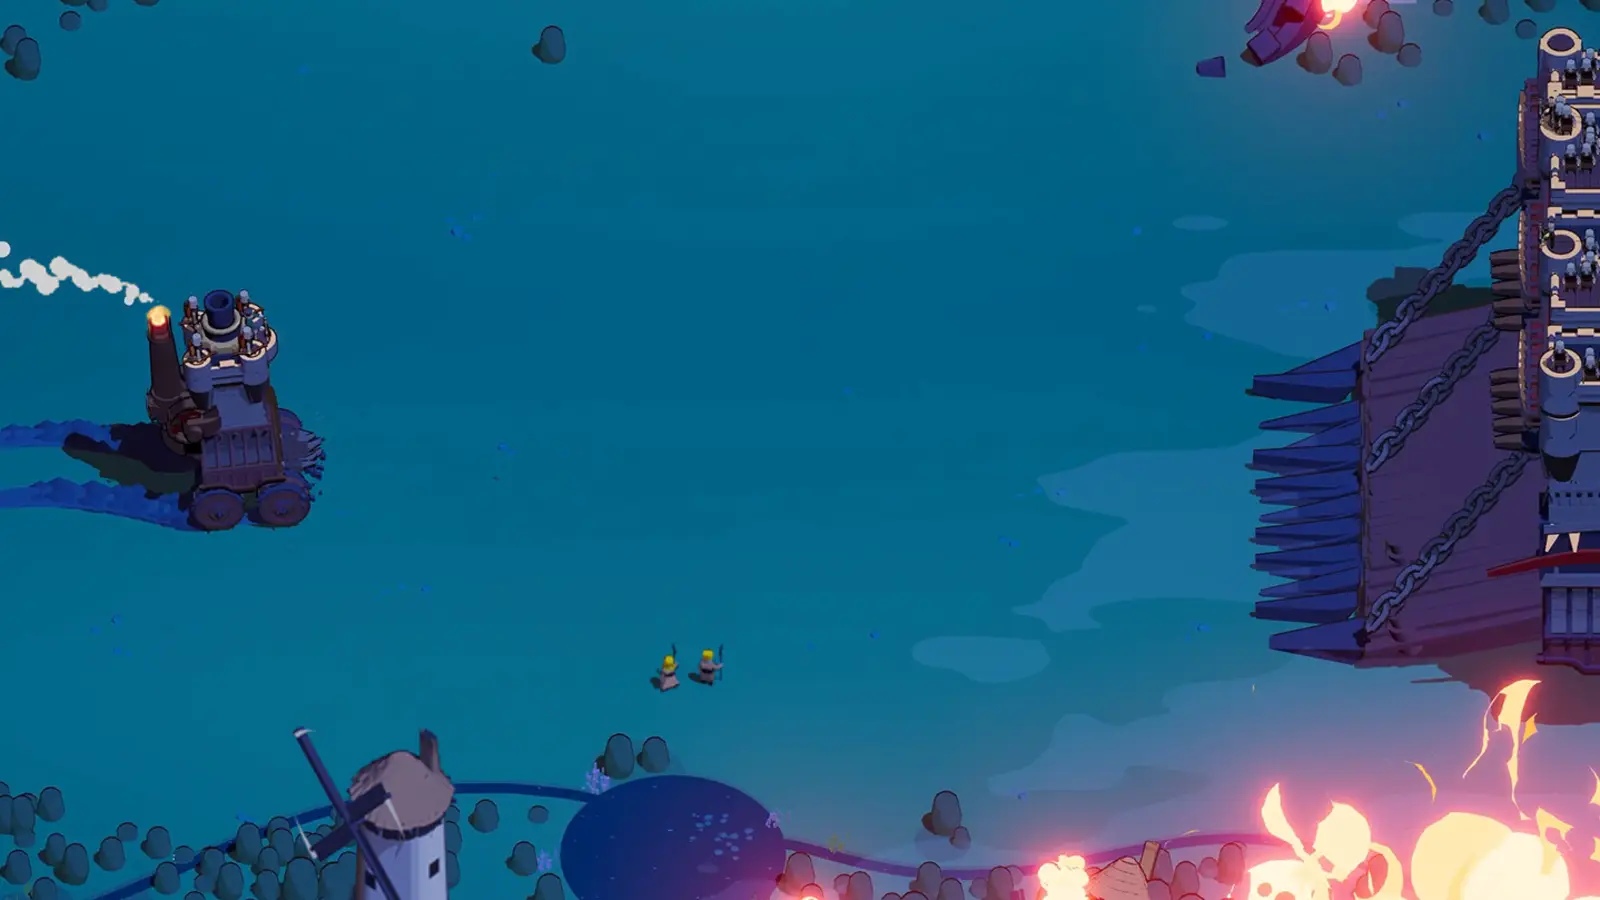
Before the first boss arrives, identify an open area where you can turn. Entering the fight already trapped beside a large structure leaves little room to correct a mistake. If a resource detour is pulling you into a crowd, finish collecting what is safe and return to usable space.
Give the boss your attention once it appears. The beginner footage warns that leaving it alive allows the situation to become harder to manage as other enemies accumulate. You need enough focused pressure to finish the fight, but that does not require remaining in contact while your important abilities are unavailable.
A useful rhythm is to approach from a favorable firing angle, activate the attacks you can land, and move away during their cooldowns. Watch the surrounding traffic while retreating. Reenter when your abilities are ready and you have a clear path. This keeps the fight tied to your actual damage windows rather than to the urge to stay close at all times.
If the boss's health barely changes, make a specific correction. Check whether your active attacks hit, whether small enemies intercept the approach, and whether you are spending the strongest ability on something else. If you take heavy damage during every pass, widen the route and preserve an exit before trying another burst. These checks remain useful even when the boss or chosen weapon changes.
Give your castle enough space to steer
Wanderburg's castle movement demands planning around the vehicle, not just the point where you want to end up. Being surrounded by enemy vehicles can prevent a clean escape. Look beyond your immediate target and begin turning before a gap closes.
A narrow opening is especially risky if your route requires a second turn immediately afterward. The first part may be passable while the exit is blocked. Favor routes that let you continue moving after the attack or pickup. If the crowd shifts, abandon the intended resource rather than committing because you have already driven halfway there.
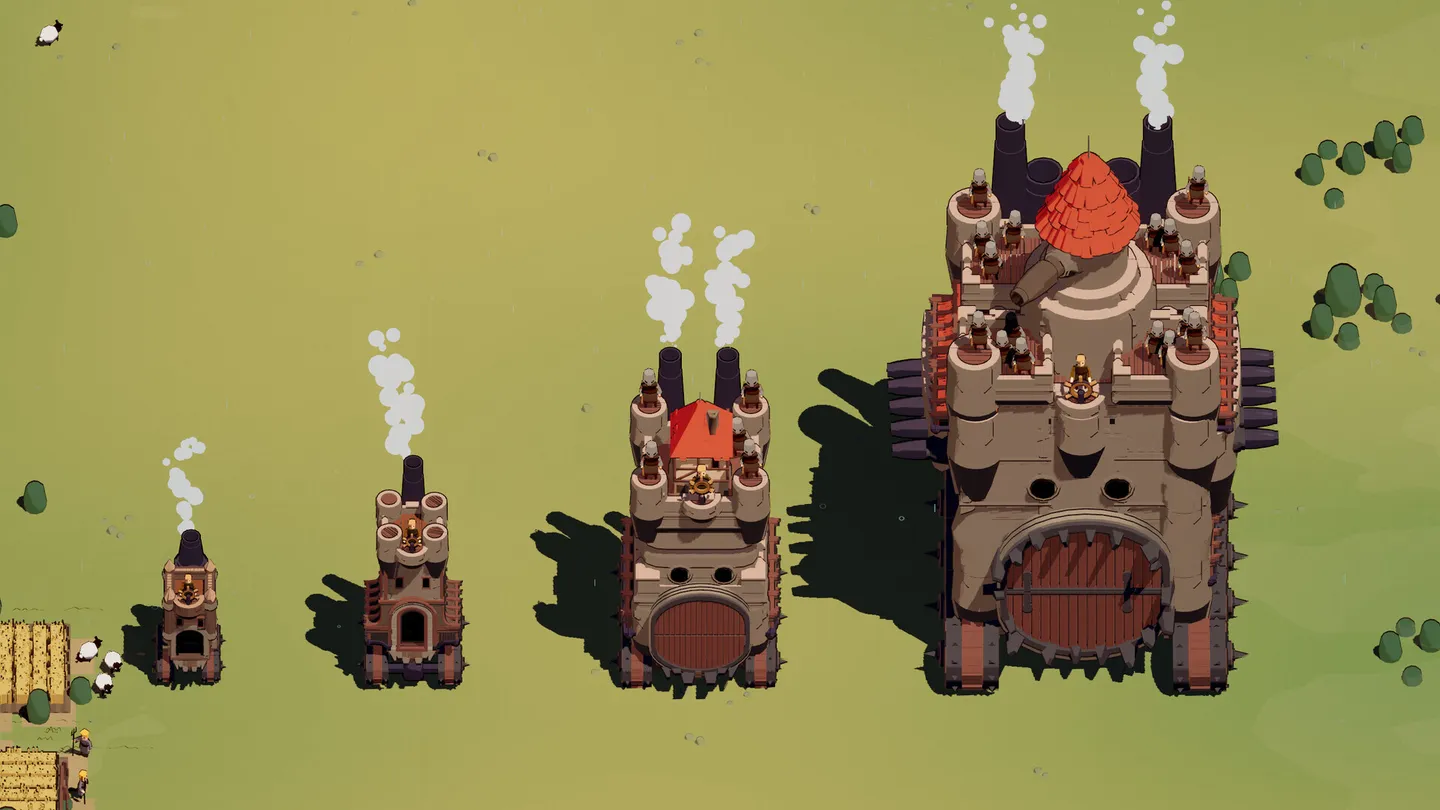
Growth deserves another handling check. The image above shows how much the castle can change over a run. After a vehicle upgrade, allow more room until you know how the new size behaves around enemies. A path that worked during the opening is not automatically a safe route later.
Use Nitro with a purpose. Boosting can help a dangerous crossing or escape, but spending it whenever the ground is empty can leave you without that option when enemies close in. Plan the direction before activating it. Extra speed toward a blocked exit does not solve the obstruction, and repeatedly colliding with traffic can waste the movement advantage you were trying to create.
Choose Movement or Defense from the last fight
Recorded players disagree about a universal vehicle-upgrade preference. One values Movement because it helps avoid danger; another favors Defense and supplements mobility through artifacts. Their runs support different approaches, so there is no reason to treat one choice as mandatory for every beginner.
Choose Movement when the problem is reaching open space, turning out of a bad situation, or keeping dangerous attacks from catching you. This is particularly relevant if the weapon plan requires repeated repositioning. Faster movement still needs a clear route; it cannot compensate for deliberately entering a pocket of vehicles.
Choose Defense when your route is reasonable but unavoidable mistakes or repeated damage leave too little health to finish. A defensive approach can suit a setup whose damage continues while you concentrate on survival. However, more health will not correct a pattern of remaining stationary under sustained fire indefinitely.
After the next boss, reassess instead of repeating the previous choice automatically. The run may now have different artifacts, another module, and a larger castle. What was missing during the first fight may no longer be the limiting factor. Use the most recent fight as evidence for the next decision.
Let artifacts reinforce attacks you actually have
Artifacts can reward particular damage families or equipment positions. Their value depends on how many useful parts of your current setup receive the effect. If two effective modules share a relevant bonus, that artifact can support both; if the bonus applies only to an unequipped family, its immediate contribution may be small.
You do not need to force a single damage type in every early run. The beginner material explicitly discusses combining two families when the account does not yet have every desired module. The practical aim is to make your choices cooperate, while preserving enough coverage to survive the stage.
Check the wording rather than relying on the object's name or picture. A bonus to Top modules and a bonus to arrows describe different categories. An arrow attack might benefit from both if its position and type match, but that does not make those categories interchangeable across the whole loadout.
When choosing between damage and survival, consider what is already working. If ordinary enemies disappear quickly but projectiles keep ending the run, another damage bonus may have less practical value than recovery or movement. If you survive comfortably but cannot finish the boss, the opposite may be true. This is a decision about the current attempt, not a permanent ranking of artifacts.
Return from the run with a specific purchase plan
At the end, inspect what actually changed. Completing a challenge can make an item available to purchase; it does not necessarily buy the item. Silver ownership and challenge progress are separate checks. Repeating an already completed objective will not resolve a missing purchase by itself.
Choose the next module from a setup you want to play. For example, a vehicle that needs another owned Top module has a clear compatibility problem. Buying a different captain or another Side option will not fill that requirement. A purchase is most useful when it creates a playable combination or addresses a failure you have already encountered.
Area objectives can provide a more manageable Silver goal than repeatedly attempting the hardest unlocked stage. Read the task's exact target and whether it applies within one run or across overall progress. Use the Silver farming route to plan the currency step, and the first module purchase guide to decide what that currency should buy.
After a normal clear, choose Overtime only if continuing suits your objective and the castle is functioning well. A build that defeated bosses can still struggle with sustained ranged pressure. Ending a successful run to use a newly available purchase is also a useful progression decision.
Review a defeat without rebuilding everything
Write down the last meaningful cause of failure: a missed attack, a blocked turn, an unfinished boss, insufficient recovery, or a loadout that never came together. “The build was bad” is too broad to help. Name the moment when the run stopped being controllable and the option that might have changed it.
For the next attempt, change one major decision and keep enough of the setup familiar to judge the result. Practice a different approach angle, prioritize the automatic attack, choose Movement after the boss, or save Nitro for a known danger. If you replace the vehicle, captain, and damage family simultaneously, you lose the comparison.
Progress is not limited to a victory screen. A run that proves your starting module can handle the first boss, completes a purchase condition, or reveals why a detour is unsafe can guide the next attempt. Turn that observation into a concrete choice, then repeat the stage with a purpose.